Showing posts with label nail polish. Show all posts

Monday, March 10, 2014

piCture pOlish Electric Dream Mixed and Matched.


Heya Guys!!


How was everyone's weekend? Mine was busy, I am in the process of building a nail room, and there is a lot to get done. I would say it is about halfway though now, so hopefully in the next couple weeks, it will be finally finished!

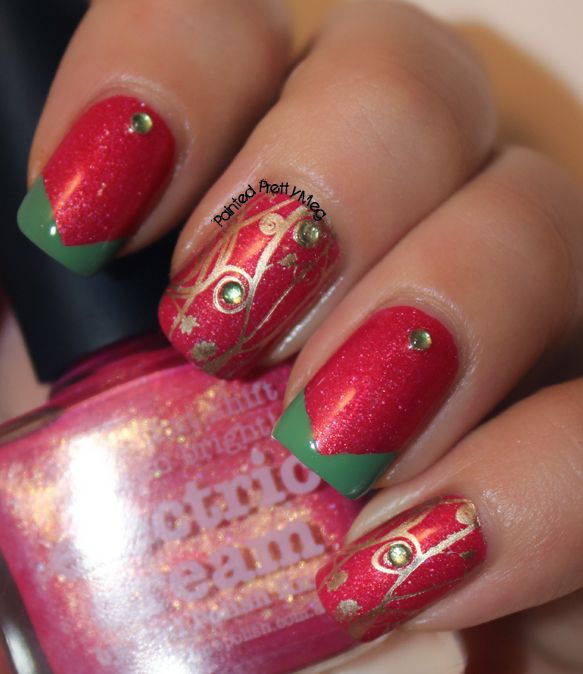
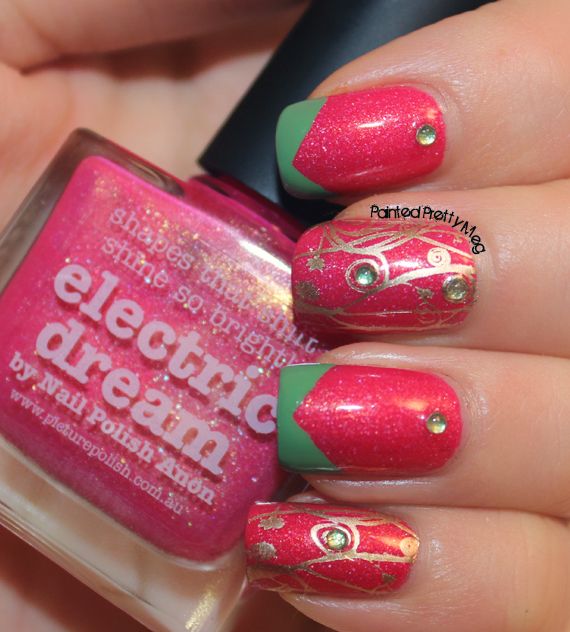
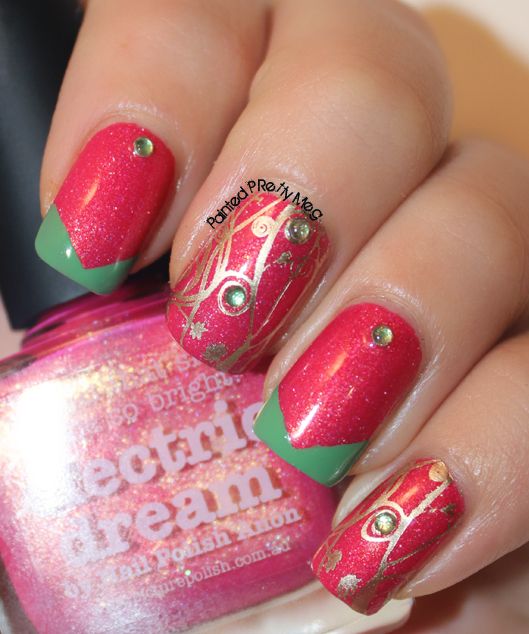
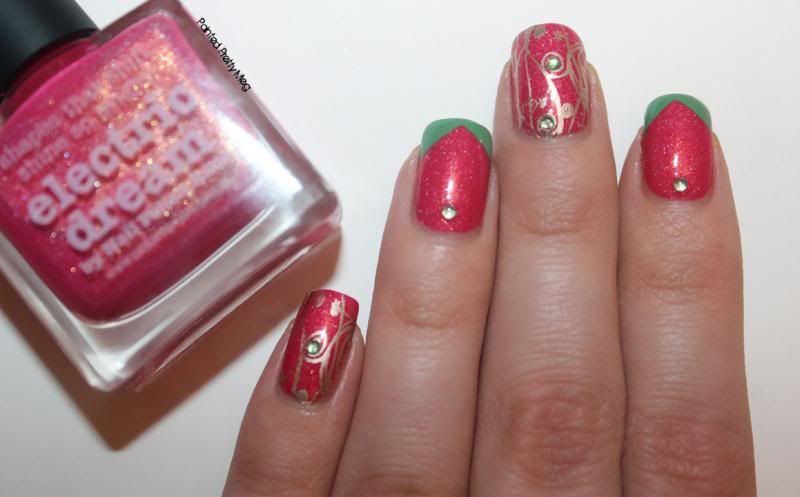
Today, I have a mix and match mani for you, using another piCture pOlish shade.  This time I used a lovely almost florescent pink/coral colour, called Electric Dream.
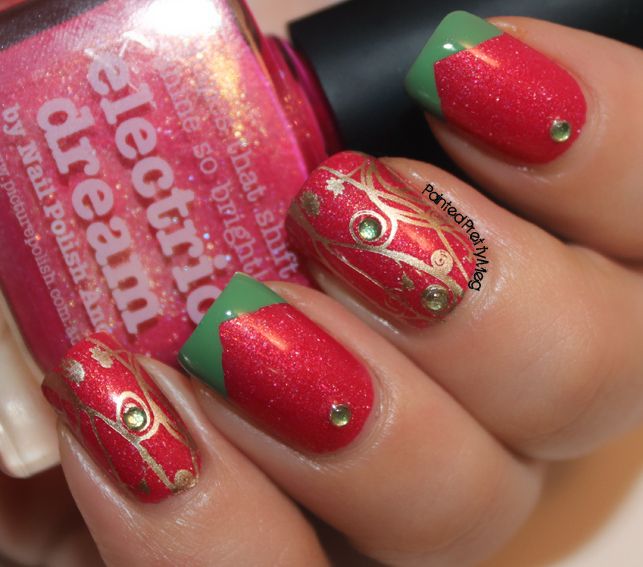


For the most part, as you can see, this leans mostly pink on me, but I don't mind at all. That pink paired with the lovely golden shimmer is simply stunning! It is actually funny, when I first put it on, I had all my nails painted, but no top coat added yet, and was looking at my nails, feeling very underwhelmed, and a bit disappointed, since  this had been on my wishlist for many months now After a couple of saddened sighs, I realized I hadn't added top coat yet! Let me tell you, that is when this shade comes alive, the shimmer comes out to play, and the colour almost glows! The best part, is that I had known that it dried to a semi-matte finish, and had just had a serious blonde moment! 

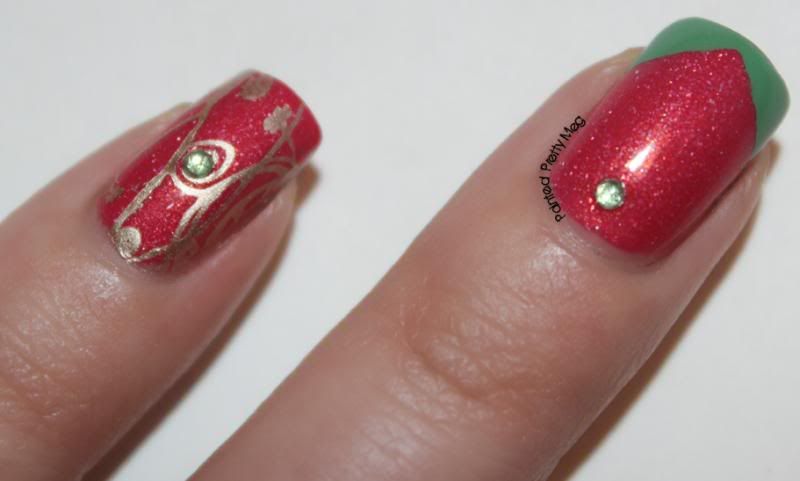
I was really feeling spring weather, and a bit whimsical in my excitement of the nicer weather approaching, so I decided to do a mix and match theme. I used Zoya Josie for the green tips, since what says spring more then a gorgeous grass green colour!?  Since I am not the best at freehand, I also used an amazing wonderful product call Nail Vinyls, in the single chevron, to get such clean lines. For the stamped nails, I used Essie Good as Gold, and stamped with MoYou London Pro Plate 14. I then added cute green rhinestones, purchased from Born Pretty Store, to tie the look together. I really like how this came out. I am not sure if that is because of the colours, or the design, but I wore it all weekend none the less!

 Have you been getting a serious case of spring fever? Have you done any nails in the spirit of that? If so let me know! I would love to hear about it! :D I think that mostly covers it for today, and as always I hope you enjoyed my ramblings mixed with some polish fun!  Till next time Kittens! < 3


Saturday, December 7, 2013
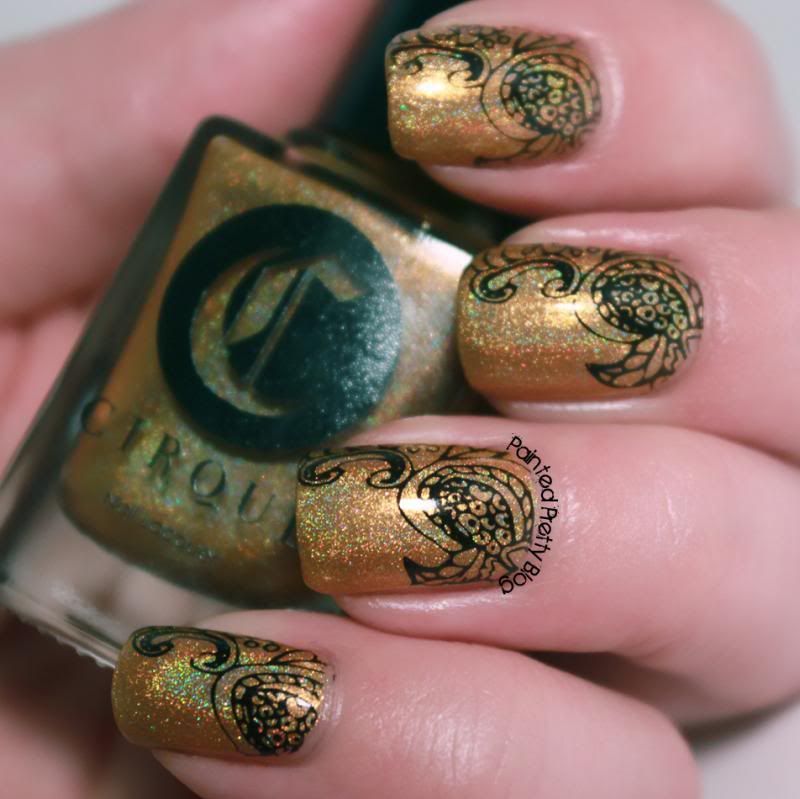
Cirque Colors: Chrysopoeia Swatch with a bit of MoYou London Stamping


Hey Guys!


Today I have for you a Cirque Colors polish to show you, from the new Alchemy collection. The entire collection is outta this world, stunning, and Cirque  is very quickly becoming one of my favorite indie polish brands. 


Cirque-Colors-Chrysopoeia-swatch-with-nail-stamping


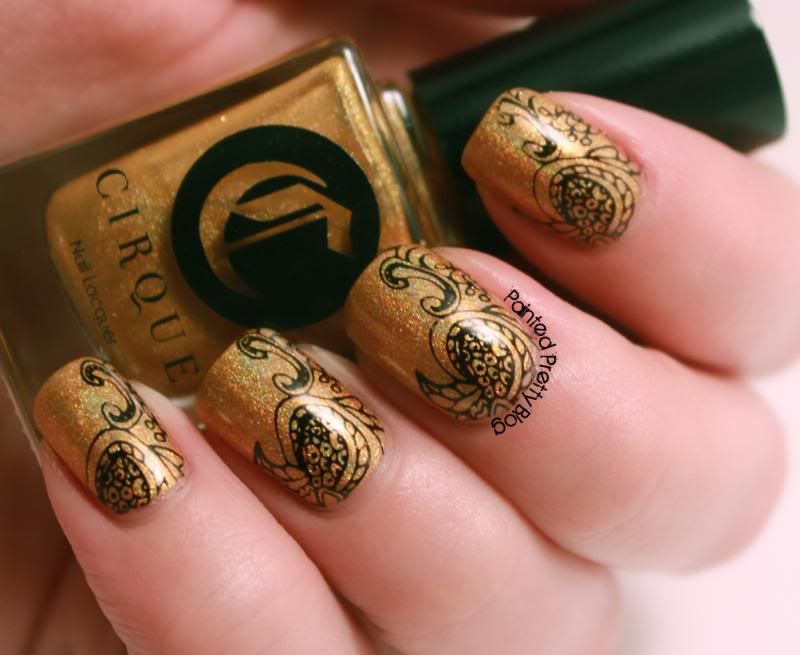
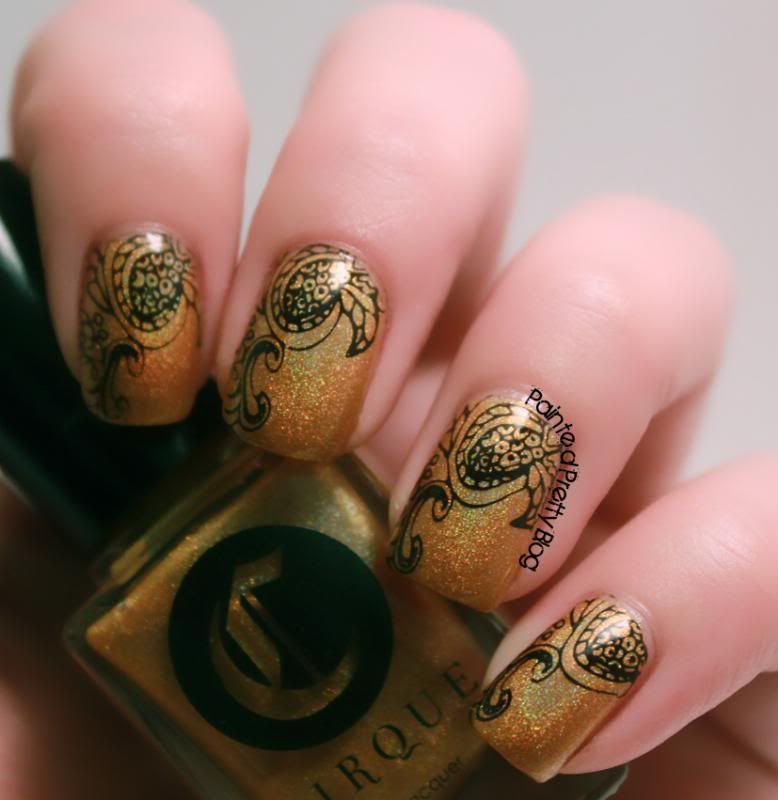
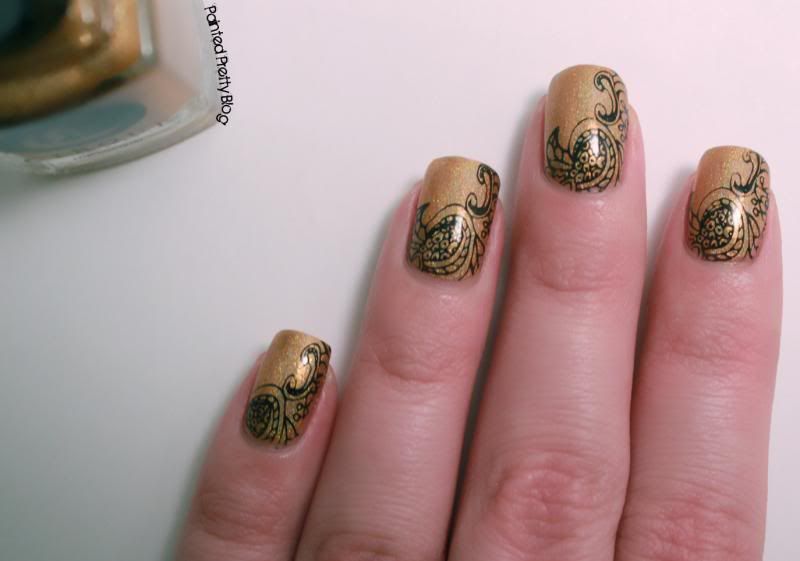
This is Chrysopoeia. It is a gold, yellow holographic polish. There is so much depth to this colour, that I am not even sure saying gold/yellow is accurate.


Cirque-Colors-Chrysopoeia-swatch-with-nail-stamping


Just look at this shift there! It is so eye catching, not to mention such a flattering colour. I don't normally wear golds, since they tend to make me look washed out, but this doesn't do that at all! 


Cirque-Colors-Chrysopoeia-swatch-with-nail-stamping


As you can see, even when the holo is hiding it is still a gorgeous flattering colour. 


Cirque-Colors-Chrysopoeia-swatch-with-nail-stamping


As you can see, the holo effect is quite strong in this polish. These were all taken in my lightbox, and I actually had more trouble getting an image without holo then with. To complete this look I stamped with my new MoYou London plates, that I recently got as a birthday gift. I used Pro Plate 06 for this mani. I stamped using Cult Nails Tempest, which was also another birthday gift. 


I just adore Chrysopoeia. I think it is the perfect balance of yellow/gold, and the holo just makes it that much more stunning. This polish, like all Cirque polishes I have tried went on amazingly well.  I highly recommend everyone grab this up. I know this polish will grace my nails many more times.


Alright guys and gals, I know it has been a bit of a delay since my last post, and I am terribly sorry about that, with the holiday season, and looking at schools, and my birthday this past week, time just got away from me. If you are missing me, I will throw out  another shameless plug for myself here, I do keep up a bit better on instagram! I hope everyone had an amazing week, and let's cross our fingers that things don't get to busy for me over the holidays.


Tuesday, November 5, 2013

OPI This Gown Needs a Crown, OPI Visions of Love and OPI I Snow You Love Me.


Hey Guys!!

 Happy November!! I know, I know! I am 5 days late on that one,  but things have been a bit hectic, so I am a  bit behind. Better late then never though right!?

 Today I have for you, a gorgeous, fall/holiday mani. I wore this a few days back, and I loved it. It was holiday-esque, without being too Christmas-ie (gotta love made up words!!)  Basically, it would work for the holidays, or on a nice cold fall/winter day too. Anyway, enough chit chat..onto some images!!


See what I mean about festive, but not overly festive!? I love that this is not only incredibly simple, but it has a bit of wow to it with the accent nail.  When I first started with this, I thought it would be a tad on the boring side, but by the time I finished, I was totally enamored with it. To get this look, I started with a dark, vampy red. I used Visions of Love by OPI. It is a truly understated gorgeous, delicious,  vampy red colour, from the OPI holiday collection.  The sparkle accent nail is This Gown Needs a Crown by OPI from the new Miss Universe 2013 Collection. Let me just say that sparkly awesome polish is A-MAZ-ING!! It is one of the neatest colours I have seen. It really does remind you of a flowing silver gown. It is not only sparkly and stunning. It is smooth to the touch too. This polish is meant to be worn without topcoat, however I wore this with topcoat, to really make it blinding, in it's sparkle, but it was incredibly sparkly before I added top coat, so it certainly isn't needed. I just like sparkles so much, I couldn't resist! Also, as an added bonus, removing it was a breeze. I honestly thought it would be a typical glitter nightmare to remove, but the glitter foil was no effort at all to get off. I would say if you like glitter and bling, you NEED to own this.  Then, to tie in the whole manicure I added I Snow You Love Me by OPI (shocking right!?)  onto all the red nails. I simply took a toothpick, and picked each glitter up off the polish brush, and placed one on each nail tip. 

I really love how this look turned out, and to make it more impressive, it took no time at all to do. It is perfect if you are in a hurry, and don't have a lot of nail time, which was the case for me, when I did this mani.

Alright, guys and gals..I think that pretty much covers it for today. I still have a few things to get done, and a headache that refuses to leave.../sigh :l  I really hope that you guys liked this look and I have some more nail stamping coming up in the next few days, so watch out for that post.

Till next time Kittens!

Tuesday, October 29, 2013

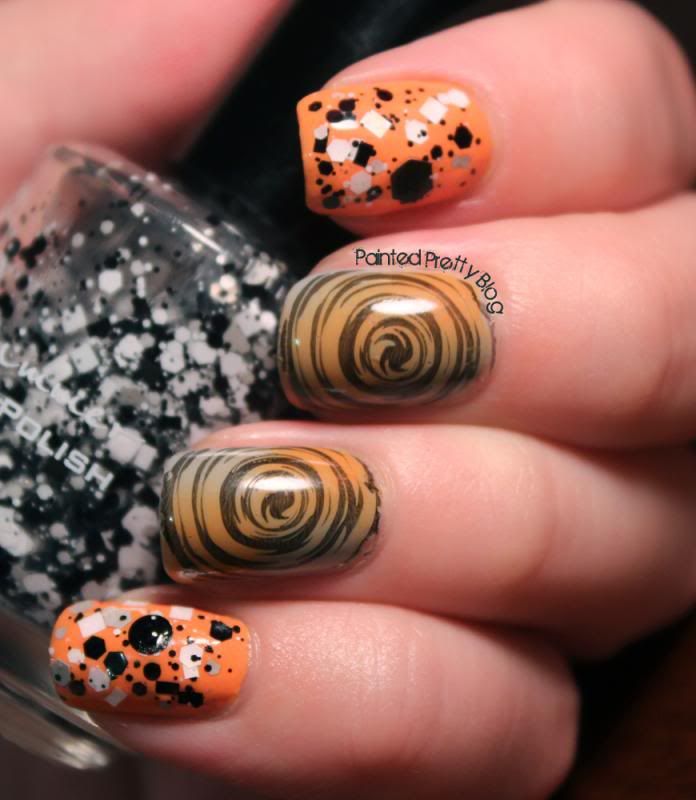
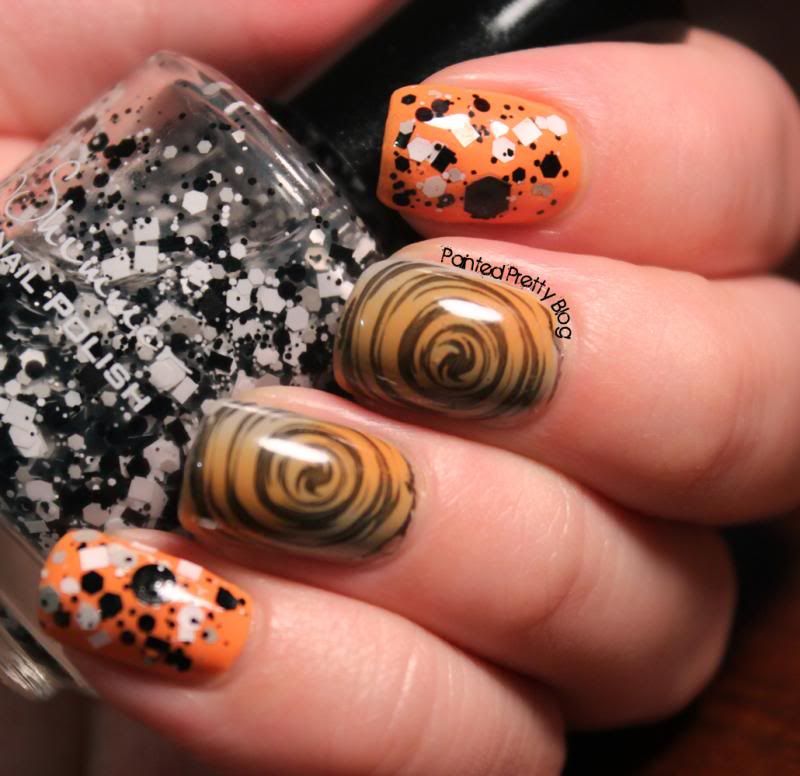
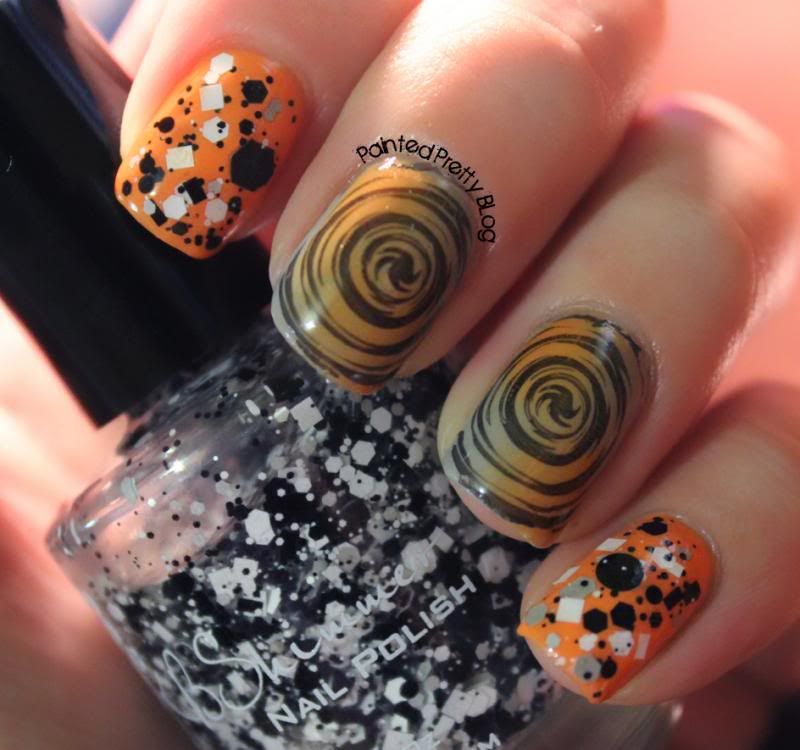
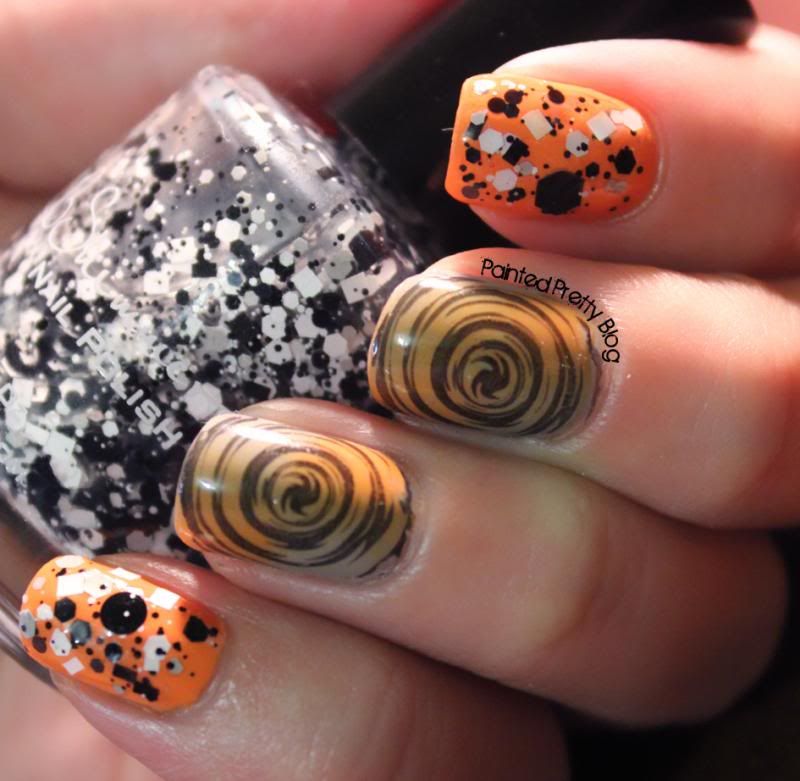
Zoya Arizona, Zoya Dove and KBShimmer Greyscale, Halloween Get Together.


Hey Guys!!


It is almost Halloween, and so I thought it was probably a good idea to get a  festive Halloween mani up on the blog! I love Halloween, I find it to be such a fun holiday! Plus, Halloween is candy, candy, candy and I have a borderline addiction to all things candy! So Halloween and myself are pretty tight!


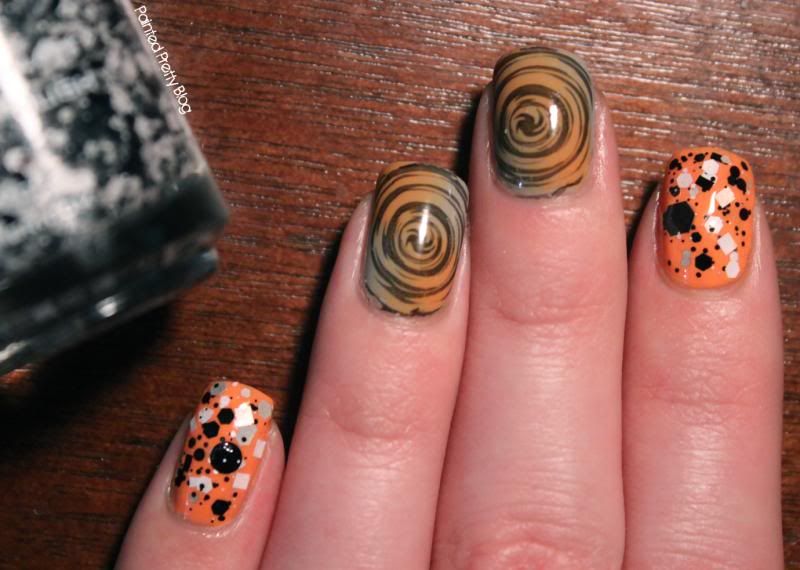
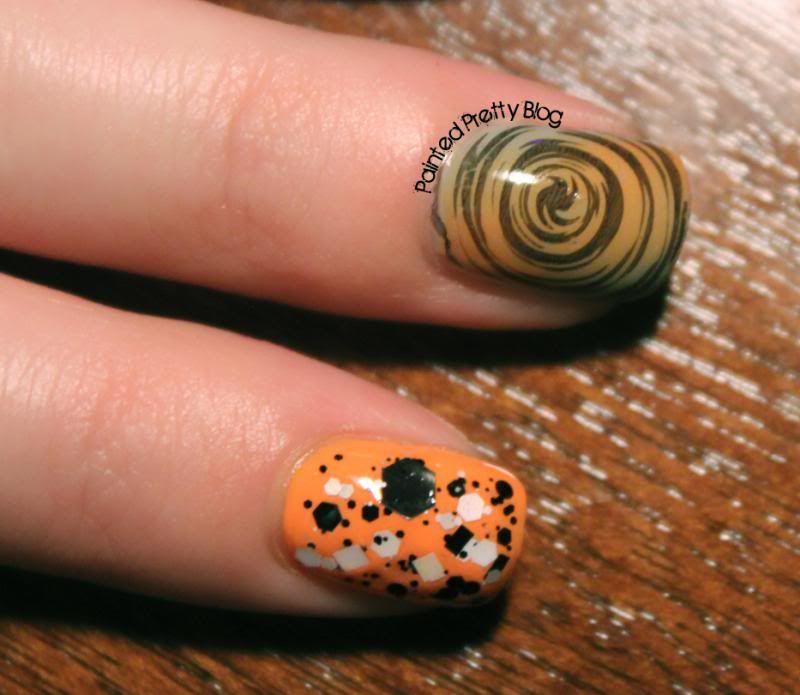
I had tons of fun doing this, like I have mentioned many, many times before, I am still fairly new to the nail world, so this was my first Halloween inspired mani! I really like how this turned out. It is fun, crazy and festive, which for me is just perfect for Halloween.


Isn't it fun looking!? Sadly, I am not doing much for Halloween this year. It seems to be one of those years, where I ask around if anyone wants to do anything fun, and everyone says "Nah, I think I will just stay in this year"  At least I can celebrate with some bad horror flicks and my festive mani though! 

To get this look, I started with a base of Zoya - Arizona on my thumb, pointer and pinky fingers, and a base of Zoya - Dove on my middle and ring fingers.  I let that dry a bit, then took out KBShimmer - Greyscale, and put it over the fingers with the orange base.  There was a bit of glitter placement since the glitters are so large, but nothing major. That glitter topper applies pretty effortlessly.  Then I took out a sponge and added Zoya - Dove and Zoya - Arizona in a checkered like pattern, and sponged that onto my middle and ring fingers. Once that was dry (sped up with a quick dry top coat)  I took out Bundle Monster Plate BM-415 and stamped the image onto my middle and ring fingers, and voila! I was done!

This mani didn't take to long to do, especially now that I am starting too really improve with my stamping skills. It is, and has been an awesome learning experience, and I am not perfect yet, but I am getting there! I am really enjoying watching my progress happen with stamping. It is neat to see myself grow and learn with it.

Alright guys and gals, I think that pretty much covers it for one day.  Even though I am not doing much for Halloween I am still really looking forward to it. Do any of you guys have any awesome fun Halloween plans? I know aside from bad horror flicks, Rocky Horror Picture Show will be on my list, how can it not be!? It is THE Halloween movie!! :P Anyway, till next time Kittens. 


Wednesday, October 23, 2013

OPI Warm Me Up With a Bit of OPI I Snow You Love Me.


Heya Guys!!


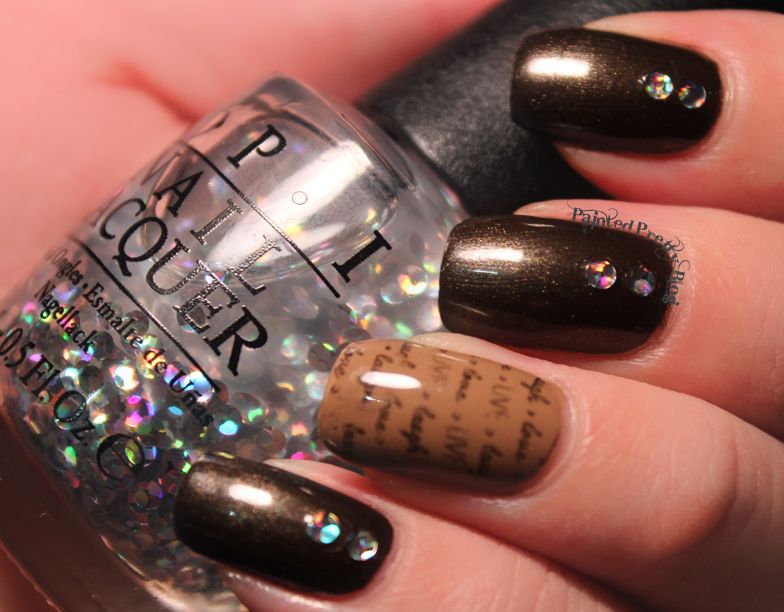
I hope everyone is having a good week! Enjoying the cooler fall weather, and all that. I know I am, although winter is coming on fast, and that makes me miss the warmer weather already! Today, I have for you a mani that showed up on instagram a week or so back. I wore it for Thanksgiving weekend.  It was muted enough for a family gathering, but not so much so, that it lacked personality! It is just perfect for this cooler weather, with it's deep rich browns, and slight shimmer. I will let you in a little secret about me and brown polish, I love brown! I tend to wear way to many brown polishes in the fall/winter months! Wait...Is there such a thing as too much brown polish!??

I put this together after I picked up a couple of the OPI Holiday shades from this years Mariah Carey Holiday 2013 set. I have to say, I only have a few shades from this collection so far, but based on those colours, I really need to pick up some more shades! Anyway, here is what I wore for Thanksgiving weekend...


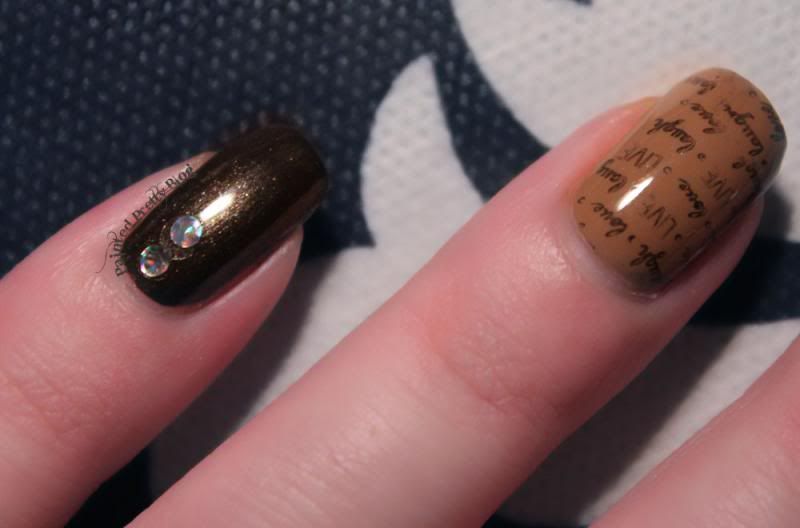
Isn't it just gorgeous!??  I liked this a lot when I wore it, and I got a ton of compliments over the Thanksgiving weekend for this mani! To get this look,  I started out with Warm Me Up  by OPI  for my pointer, middle, and ring fingers and thumb. Then I added Flynn by Zoya on my ring finger. While Flynn was drying, I got out I Snow You Love Me by OPI and  used a toothpick to place those awesome sauce circle glitters on all my nails but the ring finger. Then I took a Bundle Monster Plate, BM-405 to be exact, and stamped the image over Flynn, and voila! I was done! Have I mentioned before how awesome stamping is!? I think I have ;) Well, it can't be said enough!

I want to add here quick before I go today, that I am sorry about the somewhat dry hands!! :l I have actually been having a bit of an issue with that since the weather turned cold. I have been using hand creams, cuticle creme and cuticle oil obsessively, but with limited success. I am close to getting out the Vaseline and white gloves, and going to bed every night like that. Any tips on anything I can do, to improve the dry hand issue would be beyond helpful, and super awesome. What are some of the things you do to combat the colder weather?

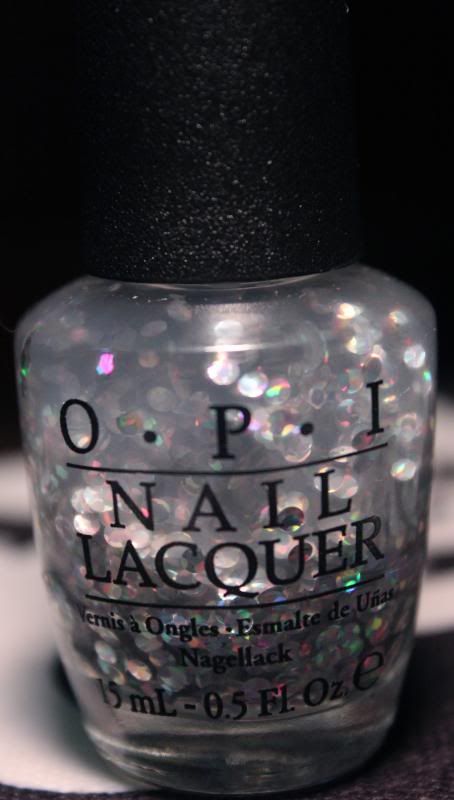
Alright guys and gals! I think that covers most of it for today! I hope you enjoyed reading my rambles,  and maybe, just maybe inspired you to pick up some of the holiday collection?   More particularly, I Snow You Love Me?? I have used it about 4 times already, since I got it a few weeks ago. It seems to be something I am reaching for often, when dressing up my nails...For a little extra persuasion, here is a bottle pic!

Look at that holo awesome!


See how stunning it is!? Like a bottle of rhinestones, or sequin glitter! ...Alright, enough OPI fan girl behavior for one day! :P  Till Next time Kittens!


Thursday, October 17, 2013

Cult Nails Mayhem with a Not so Messy Splatter.


Heya Guys!

I hope everyone is having a good week. I know I am, and mostly because it has been rather boring and uneventful! Things are actually, settling down for me finally, and I am getting into a new day to day routine. It is really nice, not having major life events happen on a day to day basis! :P


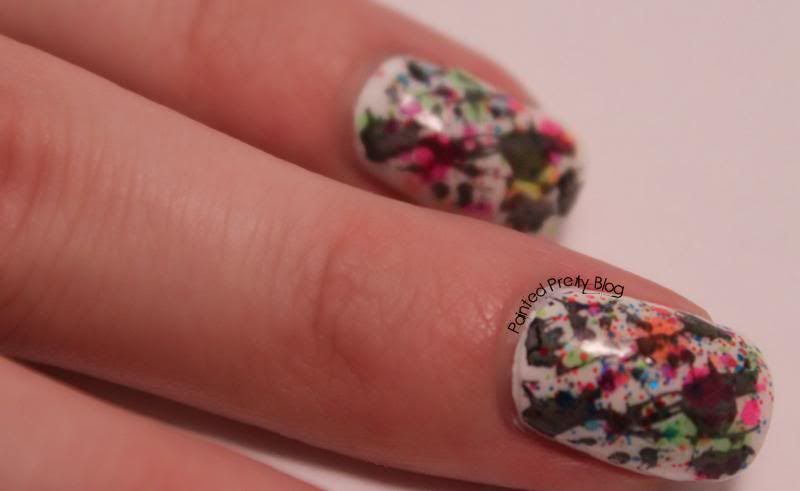
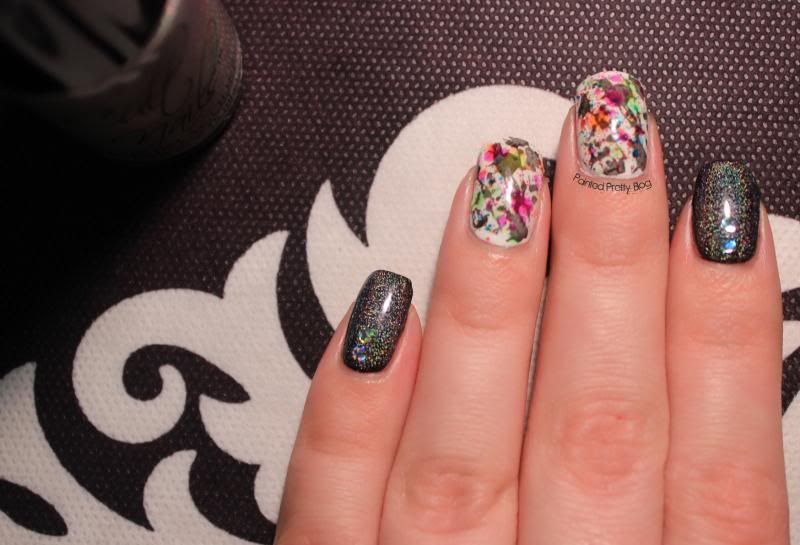
Today I have a fun mani for you, that is bright, and colourful, with a bit of an edge. I did this a few days back now, but I am enjoying this on my nails so much, that I am in fact still wearing it!  Anyway, enough talk, let's see some images!


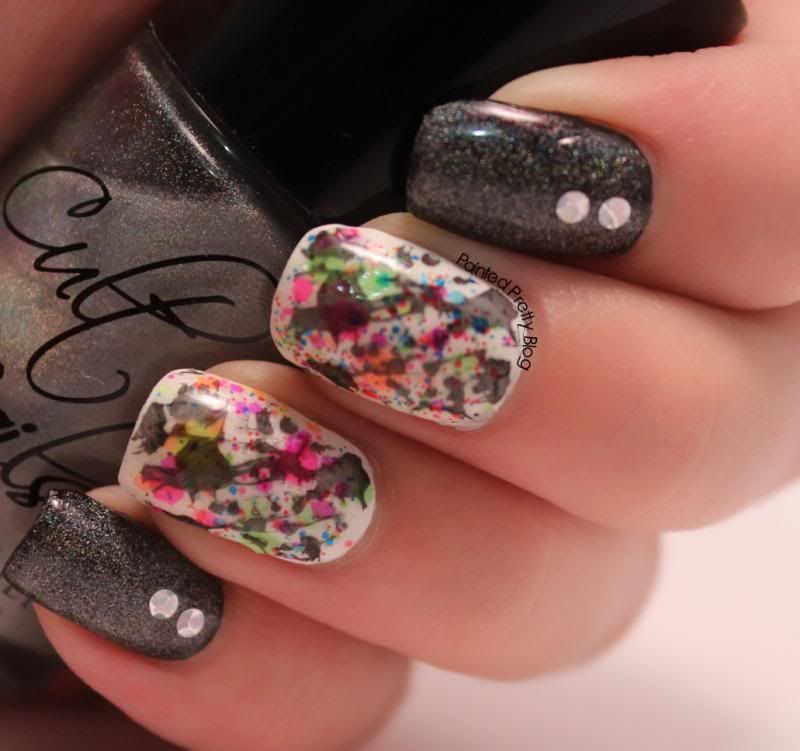
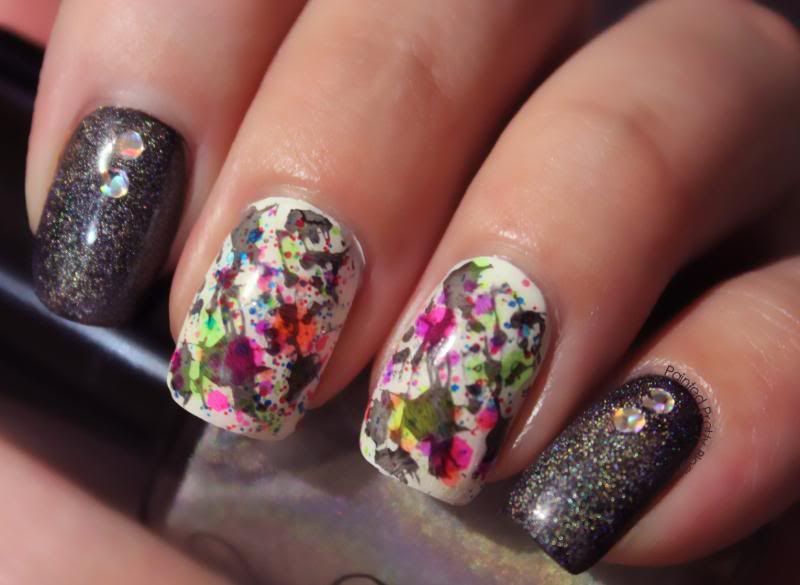
I love how my stamped paint splatter turned out!


Isn't it just adorable!? I am really enjoying myself with stamping, not only am I freehand impaired, so stamping was pretty much made for people like me. It is also a great learning experience, since although stamping is fairly easy, I do find it has a bit of a learning curve. This is only about my fourth attempt though, so it does come pretty easy once you start to get the hang of it! 

To get this look, I started with a base of Cult Nails – Tempest, then when my base was dry, I added a layer of Cirque – Electric Circus. I was able to pretty much just brush that one on, with no glitter placement. Once that fully dried. I used Lush Lacquer – Clowning Around, and placed some random larger glitters. I did have to do a bit of fishing, since I really only wanted the larger glitters, but with the bottle turned upside down before use, it was fairly easy. Then once that was fully dry I stamped on the Bundle Monster splatter image, and voila! No mess splatter nails! You could add a quick drying top coat in between waiting for some of those layers to dry if you wanted too. I chose not to, since I didn't want to end up with too many layers of polish on my nail at the end result. 

As for my pointer and pinky. They were extremely simple. All I did was start with a base of OPI - Black Onyx. Once that was dry, I  added a top coat of Cult Nails - Mayhem, for some holo awesome! Then, when that was almost dry, but still tacky to the touch, I grabbed OPI - I Snow You Love Me and a toothpick and placed the large circle holo glitters on the nails. Then a little KBShimmer - Clearly on Top and I was done!

Alright, I think that covers it all for one post! and a huge cheer for no more posting fail! I am hoping to get a few Halloween inspired manis up here on the blog soon, so keep an eye out for that! Till Next time Kittens! 


Monday, September 23, 2013

Cirque Vesuvius: Swatch and Review: With a Bit Of Nail Art Mixed In


Heya Guys!!


A full week again!! I have had a lot of real life drama lately, which has been keeping me pretty busy :l It sucks, and a poor excuse I know! however, it should be all dealt with, in the next couple of weeks, and I promise to not go more then 1 week without posting...

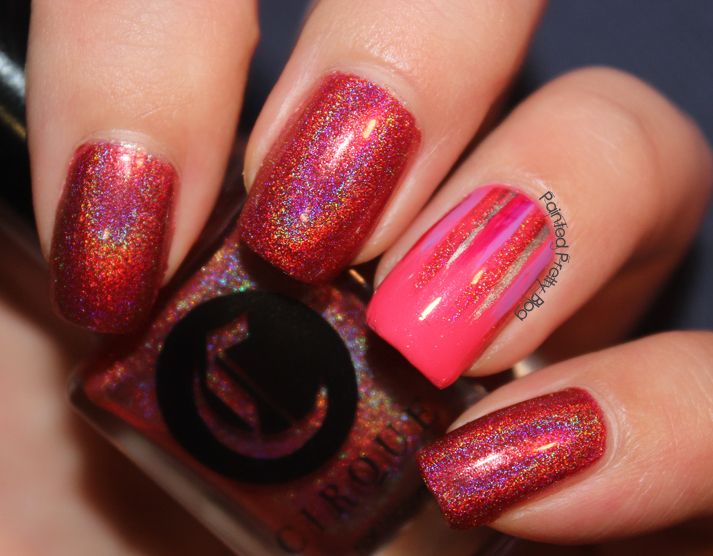
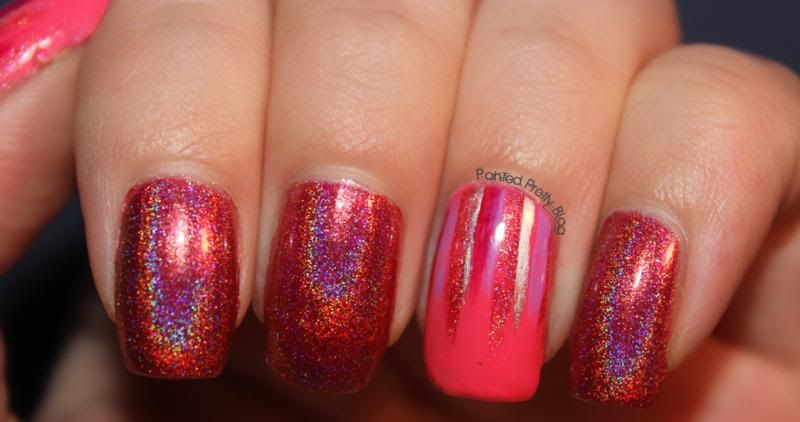
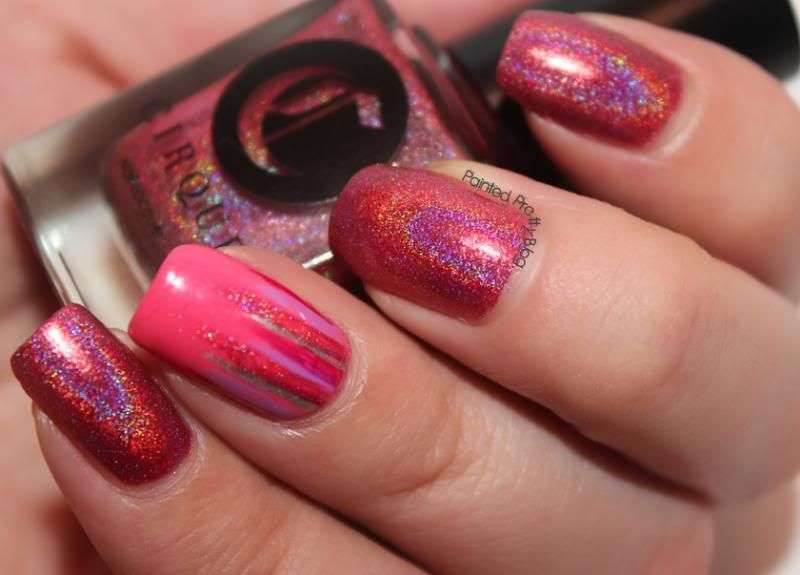
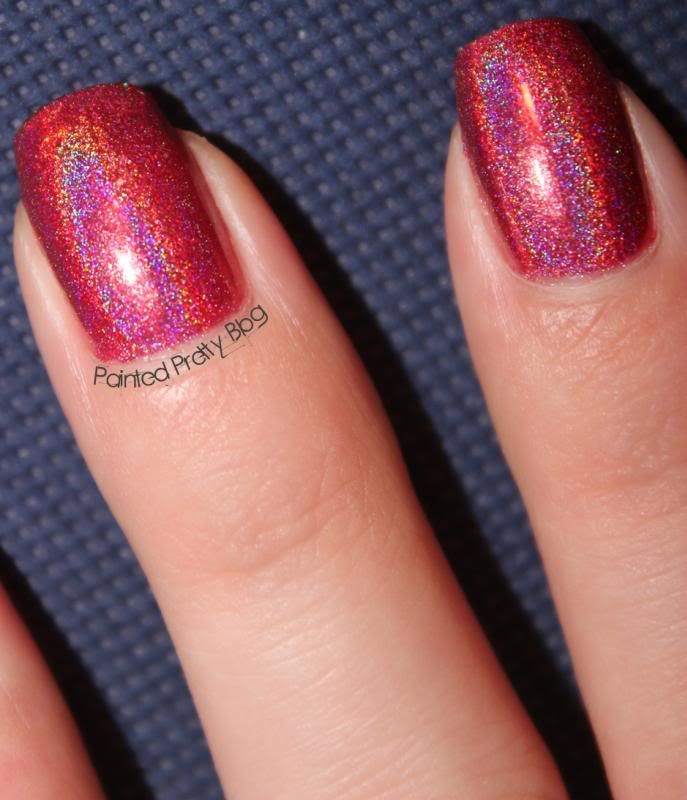
I will keep it short again today, since I (what a shock) don't have a ton of time. I recently have been delving into holos.  Up until recently, I found them to be a once in a blue moon polish for me. The annoyance of how difficult they are to apply, paired with the fact that they chip within a day or two, had me mostly shying away from anything holo. This all recently changed however, when I discovered that Cirque holo's are pretty much magic awesome sauce in a bottle. Today's post features that awesome sauce polish, called Vesuvius.

At the moment, I only have the 1 holo from Cirque, but I am certainly planning on picking up a few more. These not only applied amazing, none of the normal holo nightmares, but they lasted as well! I ended up taking it off on day 3, and at that time, still no chips, and next to no tip wear! I would say a win in my books!

Alright enough chatting about this, time for you see how gorgeous this polish is!!


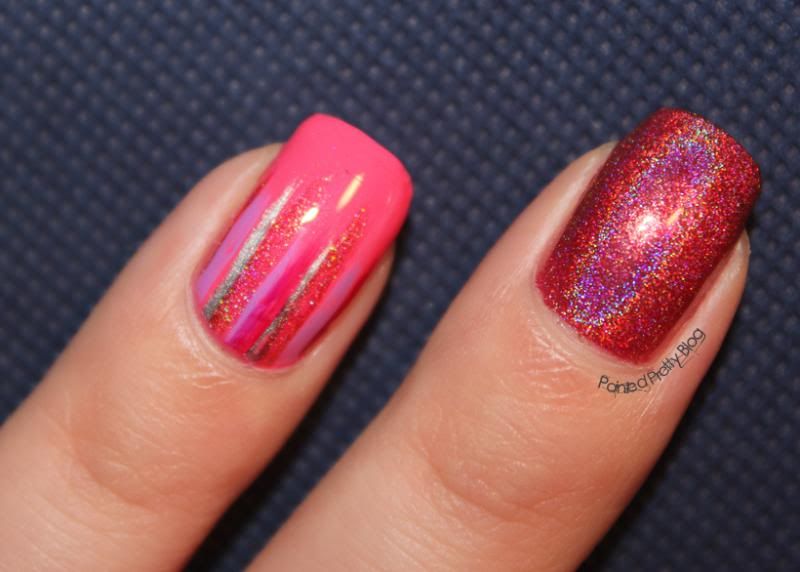
The holo effect is amazingly strong.


All these images were under artificial lighting, in my light box! (little yay! for new lightbox!) I actually didn't manage to get any decent sunlight pictures. It has been super cloudy and rainy for over a week, so every image I took turned out "meh" at best. As you can see though, that doesn't seem to dampen this polish at all, (like my pun there!?) It has an incredibly strong holo effect, even under indoor lighting, which was yet another reason I was so impressed by it.  

As a side note, the waterfall nail, which was inspired by the amazing, wonderful talent that is The Nailasaurus   was actually pretty easy to do! I was worried that I wouldn't be able to make straight enough lines, but it turned out pretty decent! For my waterfall lines I used Essie - Play Date for the purple. Essie - No Place like Chrome for the silver and Cirque - Vesuvius for the holo pink. The base is Zoya - Micky.  

Alright, I think that is all for today guys! I hope everyone enjoyed their weekends, mine was...hectic! Till next time kittens!! 


Monday, September 16, 2013

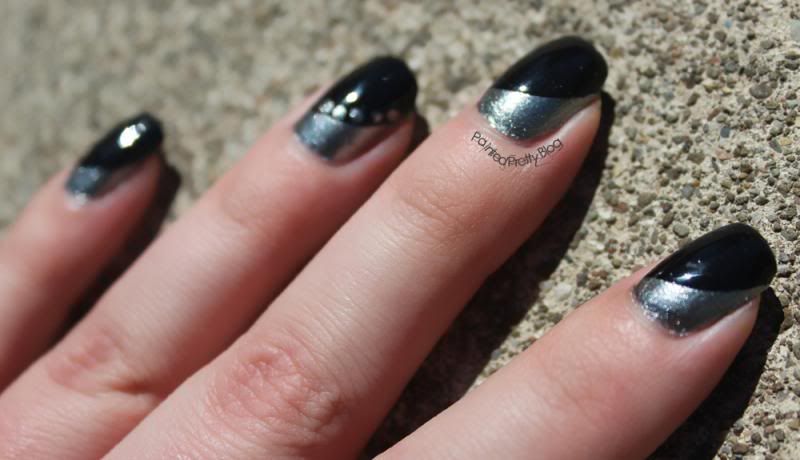
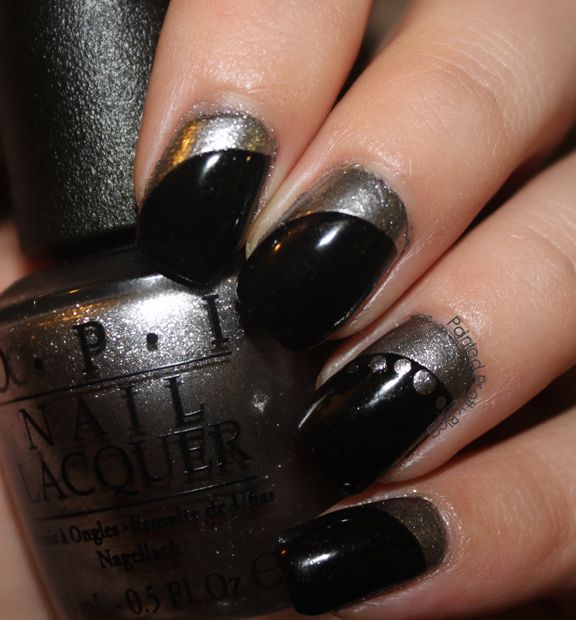
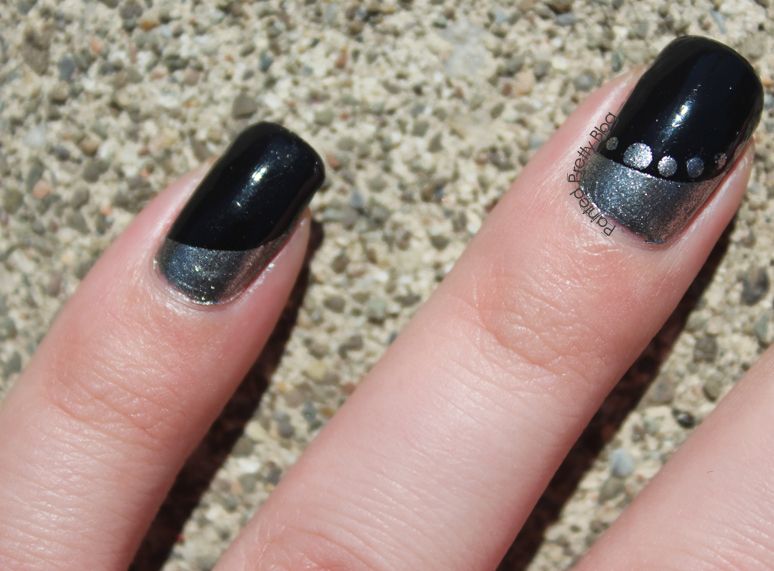
OPI Haven't the Foggiest with OPI Black Onyx Halfmoons

Hey Guys!

It's been a whole week! Wow, how did that happen!? To make it worse, I have had this mostly ready to go  for a few days, but with work, and some real life stuff getting in the way.  I haven't had a chance to post it. I actually, don't even have time today, since I should be getting ready for work, but this sounded like more fun anyway. Plus, I refuse to go more then a week without posting, I know the 4 people who read this look forward to my posts! haha..

Okay, since I am short on time,  I will get right to the pictures, my last few posts have been to wordy anyway. :P I wore this a few days back.  Simply put, I loved it. Which was weird, cause as it was coming together on my nails, I didn't, not at all. It even, almost, got taken off before I finished a couple times. I am really glad I didn't give into the urge though, cause it came out awesome.

Alright, time to judge for yourselves, not too harshly though!!


Sunlight.


Sunlight.


Indoor shot.


Sunlight.


This was a bit of a learning experience. I am not sure if it was just me, or if black is notoriously hard to photograph, but I had a lot of trouble getting the images to come out clear and concise, and not having the black blend into other things, shadows, the bottle handle, etc..I will keep working on it though!

Speaking of photo's, I have now,  finally!! built a light box, (yay!!) so that should help tremendously in the quality of my photo's.  This is all a huge learning process, that is for sure! I feel like, I am improving though, week after week, learning my craft, and not sucking quite as much as the previous week! Maybe, one day I will have pictures I don't find a ton of flaws in! 

A little something to note before I finish off this post. I adore Haven't the Foggiest. It goes on like a total dream. I had read previously about how nice this polish applies, but it was even better then I expected. No brush strokes, smooth, not to thick. It was a-maz-zing!  I have been mostly meh about the mainstream fall collections, but this shade has won my heart. If you haven't gotten yet, I highly encourage you to pick it up.

Anyway, I hope everyone had an awesome weekend. I had to work, but only on the Saturday, so it was still a pretty decent weekend. Till next time kittens <3


Monday, September 9, 2013

KShimmer: Teal Another Tail Swatches and Review


Hey Guys,

I hope everyone had a good weekend! I had the entire weekend off from work, for the first time in, oh my gosh! 6 months maybe!?  I spent the weekend relaxing, catching up on some house work, and of course, a little nail art!! :P It was great, and I  am so glad, that the slower season is here with work, so that weekends off, won't be so rare!

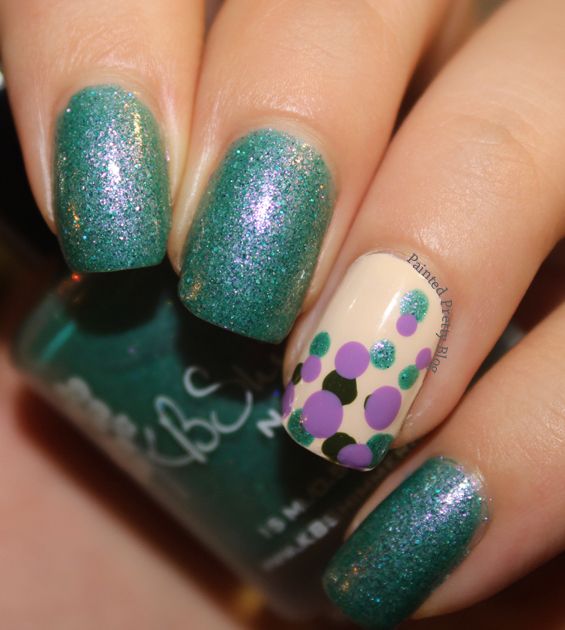
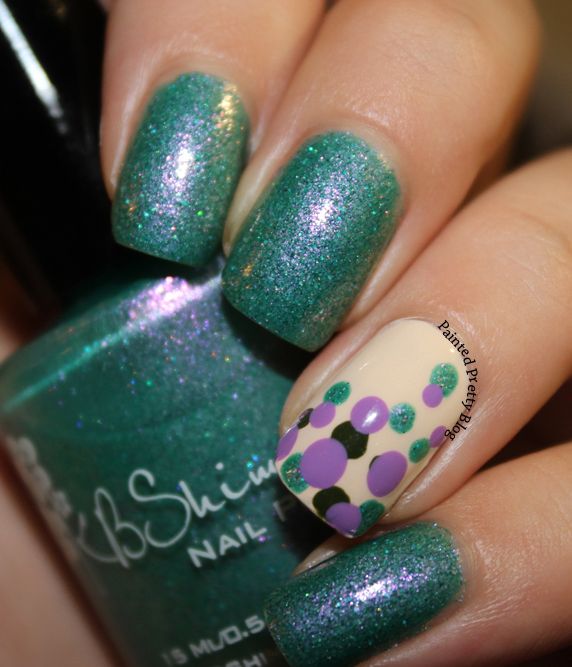
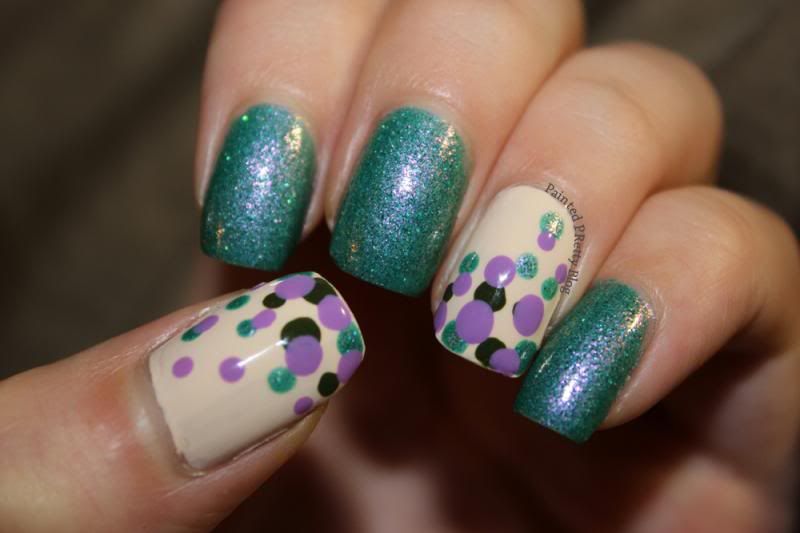
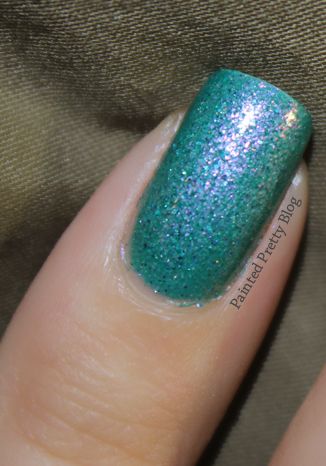
Today I have a polish from the KBShimmer fall collection, Teal Another Tail to be exact.  I absolutely adore this colour. Not only is it  a gorgeous gorgeous, almost emerald green, but it also has  a stunning purple shimmer, throughout it.  I was just mesmerized, by how pretty this colour is, the whole time I had it on.  I was constantly moving my hands to catch it in the light, and being awed every single time. The only downside, was how distracting this polish was to have on my nails. 


If you have been on the fence about this polish, or any of the polishes, from the KBShimmer fall collection. I highly, highly recommend picking some, or all of them up. Every single polish is, simply put, amazing. I got the whole collection, and will be showing it off  in the coming weeks.  As a fun fact, this was actually my first entire collection purchase. I am pretty new to nail polish, as I have mentioned before, and have always  just picked up the polishes from collections that I consider to be "must haves".  When I started seeing images of the KBShimmer fall collection, I simply couldn't seem to pick any favourites out. I kept trying to only pick out a few, but couldn't seem to settle on which ones were my "must haves" so eventually, I caved and got the entire thing. In the end, I am really glad I did, cause like I said before they are all simply stunning. The application  of this was of course, awesome. I don't think I have come across a difficult KBShimmer yet.  

Alright, now that I have been a total cheerleader for this collection, it is time to finally show it off, so you all can see why I am totally enamored with it!


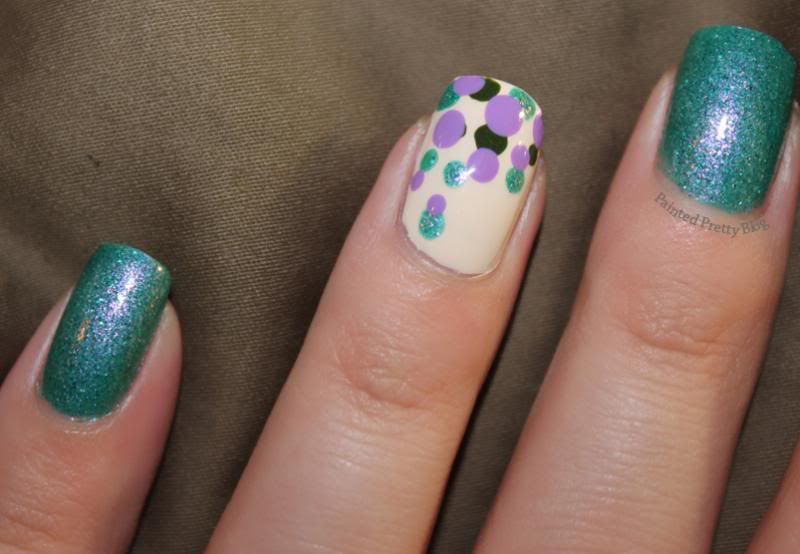
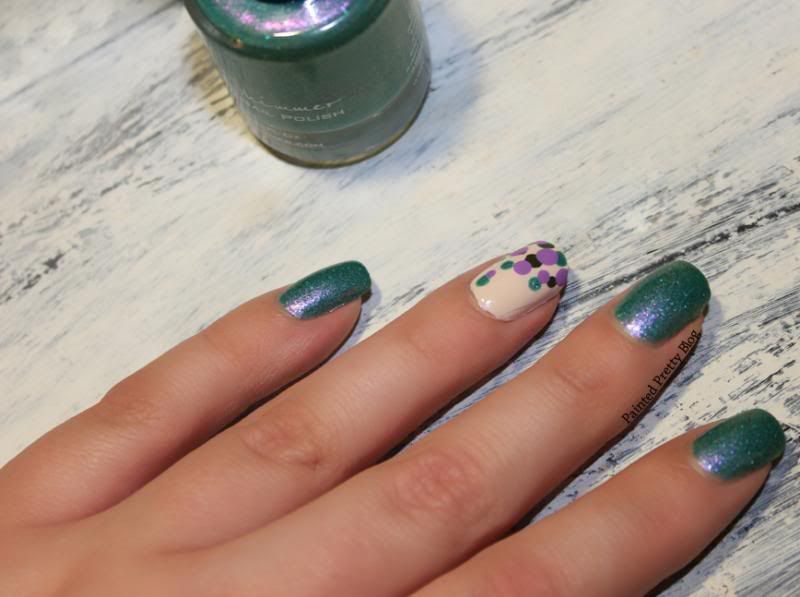
The accent nail is OPI - My Vampire is Buff for the base , then Essie - Play Date,  Zoya - Shawn, and KBShimmer - Teal Another tail for the dots.


I had to show off my thumb, since it adds to the look.


I just love the purple shimmer.


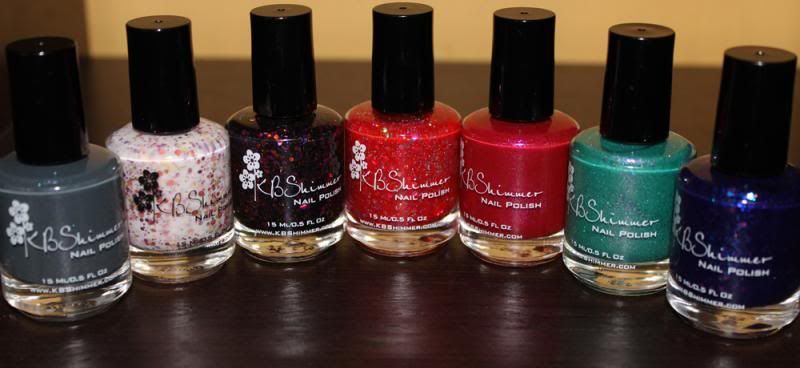
And here is the entire collection, just in case you  haven't seen it.

R to L: Turbulence, You Autumn Know, You Go Ghoul, Vicious Circles,  Every Nook & Cranberry,  Teal Another Tail, Excuse me, I Blurped.


I know, I know a bit picture heavy, I seem to be saying that a lot! I don't mean to be spamming with pictures week after week! I just had so much  fun taking pictures that I got a bit carried away, plus I have been working on some of my photography skills, lighting and colour accuracy, that I just couldn't help myself! I really think I have some solid improvements here, and I wanted to show that off a bit!  Still a ways to go yet, but getting there at least!  You also likely noticed I have added a watermark to my photos. I thought it a good idea to start branding them. I tried a few different colours and styles here, and haven't settled on anything yet, but will soon I am sure. 

Okay guys, I think that pretty much covers it. I hope you enjoy the images, as much as I enjoyed taking them! Till next time Kittens!!

P.S. **Incoming shamless plug for myself!!**  I recently got a Instagram, and Pintrest account and have added follow buttons at the top of the blog. If you feel so inclined, feel free to follow me there :D


Friday, September 6, 2013

Dotticure: Essie - Butler Please with Zoya - Pippa.

Evening Guys!

I have a few things to cover in this post, so it will be a bit picture heavy. I will keep the words short tonight because of that. First, I wanted to say Happy September!! I have been anxiously awaiting fall, not only for fall colours, although being able to pull out some darker and vampier shades is  nice too, but also because I miss some of my favourite fall foods, like stew...you just can't eat stew in the summer!!


For my first fall post, I decided on a gorgeous cobalt blue, with some bright cheery yellow dots down my nail in a line. I used Essie's Butler Please, for the base, and Zoya - Pippa for the dots. I have had the Essie polish in my collection for a while now, but it had been sitting in my untrieds. I really, really love how this turned out. It was simple, but bright and fun at the same time.


I might have a new fall fav blue!!


So there you have it! I am not sure why some of the images, almost looked like the polish was dull, let me assure you, that blue is anything but dull. Perhaps my camera didn't like the brightness!?? Not sure..Some even almost look almost marked, but again that was not there, in person. I am still working on my nail picture  skills, so bear with me. I will get it eventually...I hope!? :P

 The formula on Butler Please was a bit finicky to work with, but nothing nightmarish, like I was fearing, after reading some reviews on other blogs. Which is good, cause I fell in love with this blue the second it went on my hands and will certainly be using this polish again. Overall, this is perfect if you want something adorable, but don't have a lot of free time on your hands. 

Okay, now onto the second part of my post. This has nothing at all, to do with nails. I just wanted to share it with you guys. I had a somewhat, stressful, crummy few days this week, and the boyfriend, being the amazing, wonderful, awesome guy that he is, sent me flowers! Sunflowers to be exact. Since sunflowers are one of my favourite flowers. I couldn't help snapping a few pictures of them with my good camera when this awesome surprise showed up on my doorstep, and of course sharing it with all of you.


Best boyfriend ever award!??

I am not even sure what these are!?? They are really pretty though...

Snap Dragons!

The whole bouquet.


Aren't they just gorgeous!! Every time I walk into my living room, I smile like a huge goofball at them. They really made my whole week better. He is simply amazing, and always knows how to cheer me up.

Well, I think that covers everything I wanted to share, and sorry for the flower spam. I just couldn't not share those gorgeous flowers with you. Till next time Kittens!