Wednesday, April 9, 2014

Colors By Llarowe Seahawks Lime Swatch, with some Free Handed Tips


Evening  Lovlies!


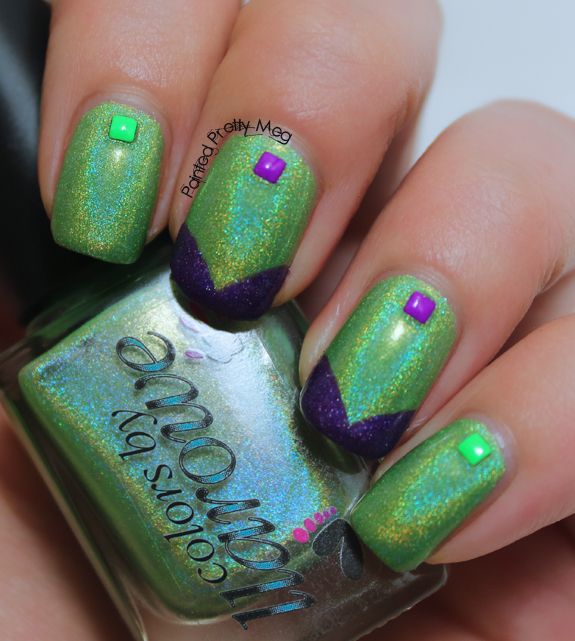
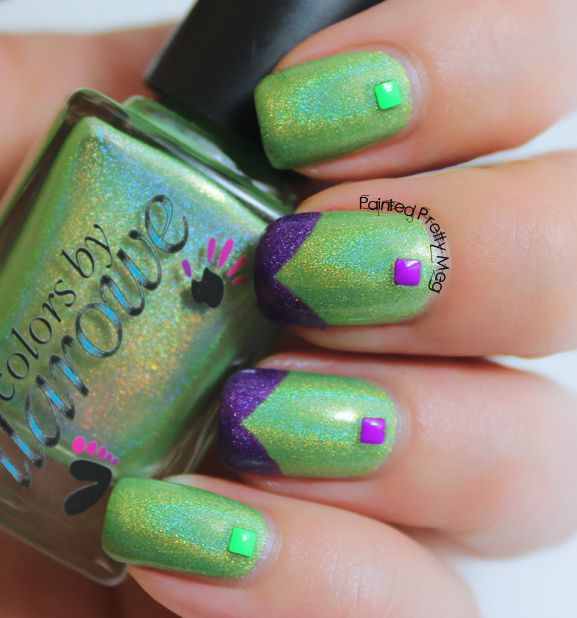
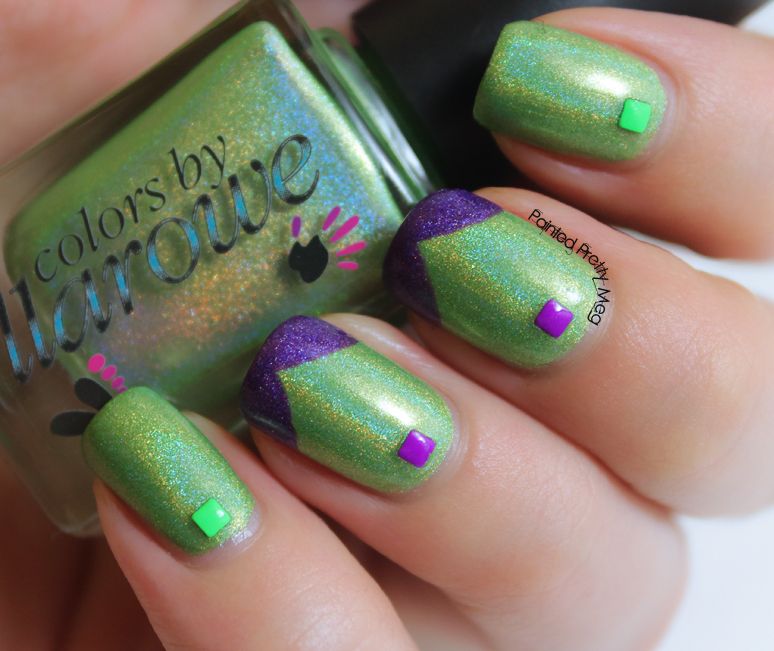
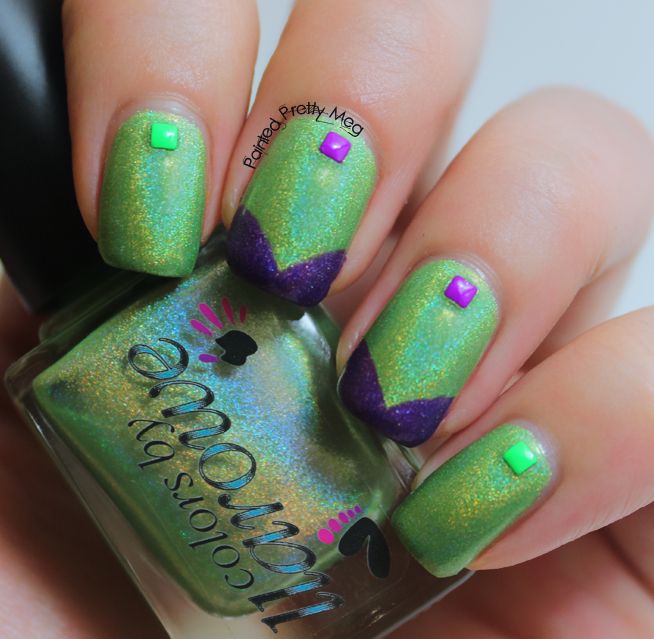
Yesterday, I finally got my hands on Colors By Llarowe Seahawks Lime. I honestly, have been lusting after this shade, and Orange Crush from the same collection, since I first saw them a couple months back, but had pretty much given up any and all hope to owning them, since they were a in 1 run Superbowl special, with two other colours, and  I didn't actually want these cause of football, I wanted them, cause of how gorgeous they looked! :P I honestly know nothing about football, I fail at all things football actually! lol

Well,  you guessed it! I got my little paws on that shade, and Orange Crush too, over the weekend, thanks to a restock, from Harlow and Co.  Well, they arrived yesterday afternoon, and I just couldn't wait any longer to put it on, and see if it was as gorgeous, as I thought it would be from pictures.
Colors-By-Llarowe=Seahawks-Lime-Swatch-1


Colors-By-Llarowe=Seahawks-Lime-Swatch-2


Colors-By-Llarowe=Seahawks-Lime-Swatch-3


Colors-By-Llarowe=Seahawks-Lime-Swatch-4
A bit blurry, trying to capture the holo, and didn't even come close! :P


Let me just start off with, yes, yes it is in fact just as stunning as I had hoped it would be! The holo, is super strong, even though my light box, dulled it significantly, I promise though, it is so in your face with rainbow awesome! It is like there is some mystical awesome magic in it, to make this polish beyond amazeballs, or perhaps Unicorn magic? I don't know, I just know, that every time I look at this on my nails, I get all giddy and excited and think perhaps magic dose in fact exist.

Now, let's talk formula, it was great. Like all CBL polishes, it is a tad on the thick side, but nothing that isn't manageable, and nothing that presents a problem in application. It went on super smooth, with no streaking or blad patches. It did take 3 coats for it to be opaque,  although, it was good at 2, but a lot of the times, what is good in person, normally leaves it looking a bit thin when you end up taking pictures, so I did a third coat to be sure. That was a first for me, since CBL polishes tend to be super opaque normally, but like I said, I would have only done 2 coats, if I wasn't planning on taking any pictures.

Now, let's talk about this, uhh art!? Not sure that is what I would call it, but I am proud of it anyway! Here's why, see, I don't freehand very often, almost never at all really, but one of my New Years resolutions, was to expand my art skills, work on things in  my nail art, that need work, and that is where this comes in. I free handed those tips, and I know it isn't much, I know that tons of you, would say!? That's all, that is what you are so proud of!? I know, I know! It may not be a big deal to some of you, but to me, having free handed tips, like this, just shows me, how far I have come, since, just a year ago, I couldn't even stay painting inside the lines, or in this case, nails. So, even if it isn't much to any of you, it is a pretty big deal to me! By the way, since I haven't stated it yet, I used Glam Polish, Look at Me I'm Sandra Dee. The studs are from Born Pretty Store.

Alright guys and gals, I think that covers it for today, I know, I have for sure rambled enough for one post! I hope you all are enjoying your week so far. Do any of you get super proud over small nail art things like this? Does it ever shock you when you think about how far you have come?? Let me know in the comments! Till next time Kittens! < 3

Tuesday, April 8, 2014

KBShimmer Make My Gray Swatch, with a bit of MoYou Stamping.


Heya Guys,


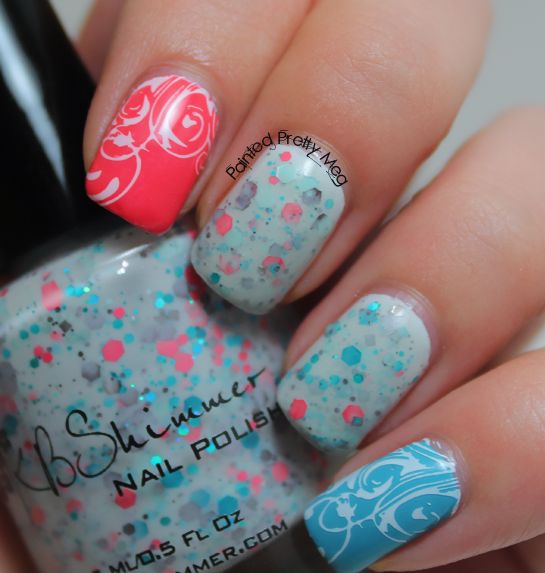
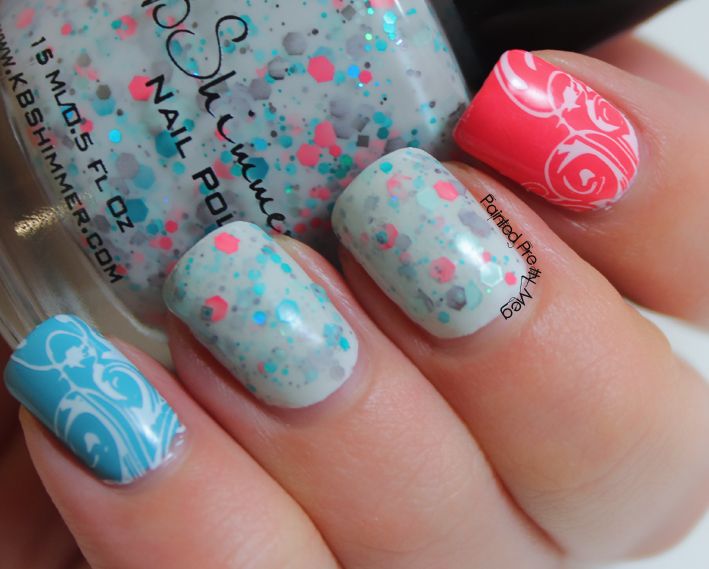
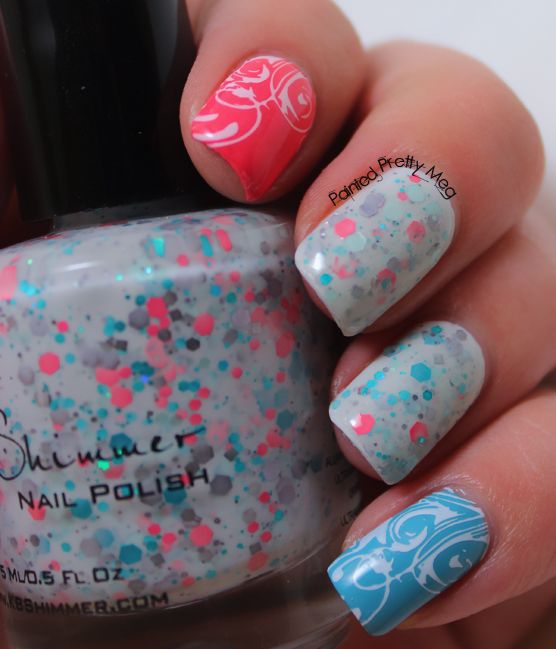
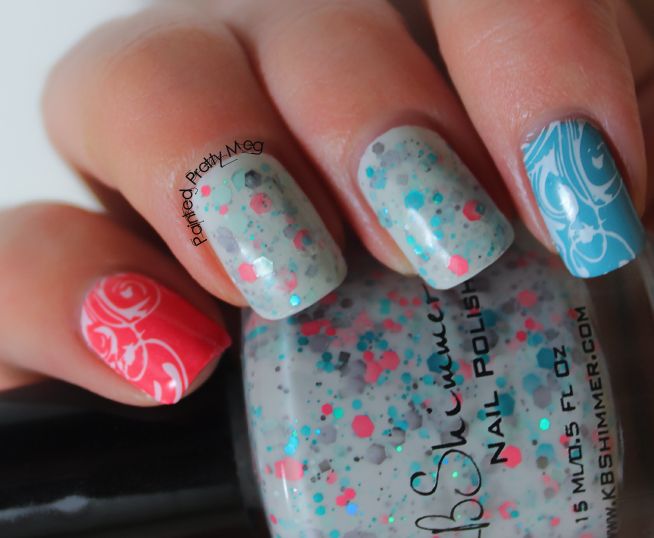
We have been having a lot of rainy April days around here lately, so when I received KBShimmer Make My Gray in the mail, last week, I knew it had to go on my nails, the second I had some free time. Well, I found some free time today, so here is what I came up with for wearing Make My Gray.


KBShimmer-Make-My-Grey-Swatch-with-Moyou-London-Nail-Stamping-1


KBShimmer-Make-My-Grey-Swatch-with-Moyou-London-Nail-Stamping-2


KBShimmer-Make-My-Grey-Swatch-with-Moyou-London-Nail-Stamping-3


KBShimmer-Make-My-Grey-Swatch-with-Moyou-London-Nail-Stamping-4


Make My Gray, is a soft,  gray crelly, with adorable coral,  pale aqua, and gunmetal gray glitters.  It is such a unique combination, and I think that is why I love it so much. Also, it really does remind you of a rainy spring day.  I paired this with OPI Live.Love.Carnival on my pointer, and OPI Can't find MY Czechbook on my pinky. I then stamped with Cult Nails Tempest, using a MoYou plate, can't remember which one. It was a Pro plate, but the number escapes me at the moment, sorry.. :l

I like, that this is soft for spring, but that the, coral and aqua blue shades give it a bit of a bright factor, they also really make the glitters in Make My Gray pop! Make My Gray, like any other KBShimmer shade I have ever tried, went on beautifully. The glitters came out of the bottle without any fishing, and the polish was super easy to work with on the nail. If you are looking for a super unique spring shade, then I highly suggest considering picking this one up.


Alright, guys and gals, I think that is pretty much it for today, or I guess this evening  since it is well after dinner time. Oh! before I sign off here, I will give a brief update on the nail room project. If you follow me on instagram you know that, I have made a few "nail room" posts, so you have seen a bit of how it is coming along, but just to let you all know, I sh tould be done by the weekend. I just wanna pick up a couple more things of furniture to fill out the room, and I will be done! I am using the room already though, and I will just say, I love it! I love everything about it, it is like my little sanctuary! As soon as I get the last little touches, I will be sure to put up a post, and share it with you all! Alright that's all for now, till next time Kittens! < 3

Saturday, April 5, 2014

OPI Chillin' Like A Villain with some Water Decals


Hi Guys!!

Happy Saturday! I have been hard at work all week, trying to get my nail room in order, it is coming along amazingly well, and I can't wait to finish it up this week, and finally be able to start using it!

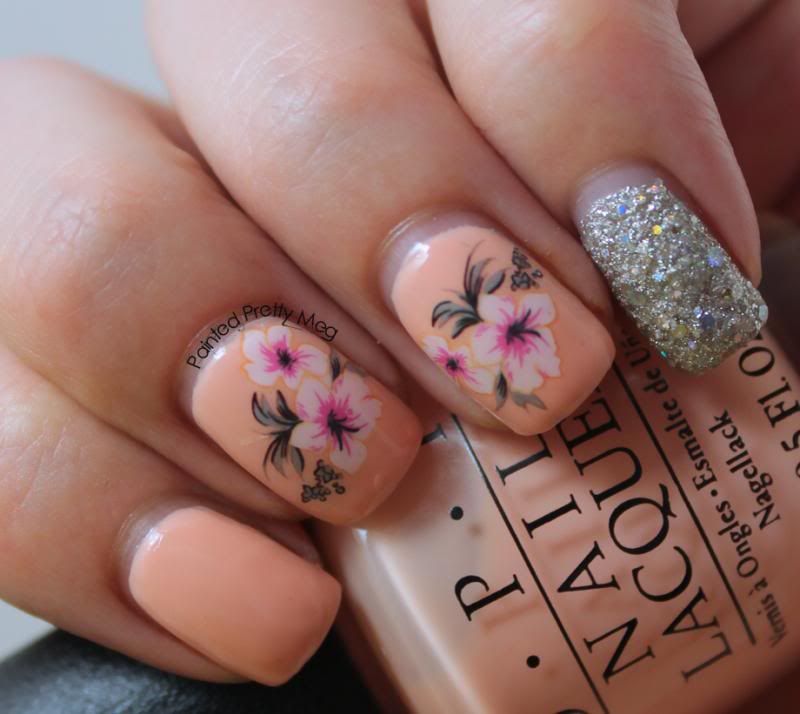
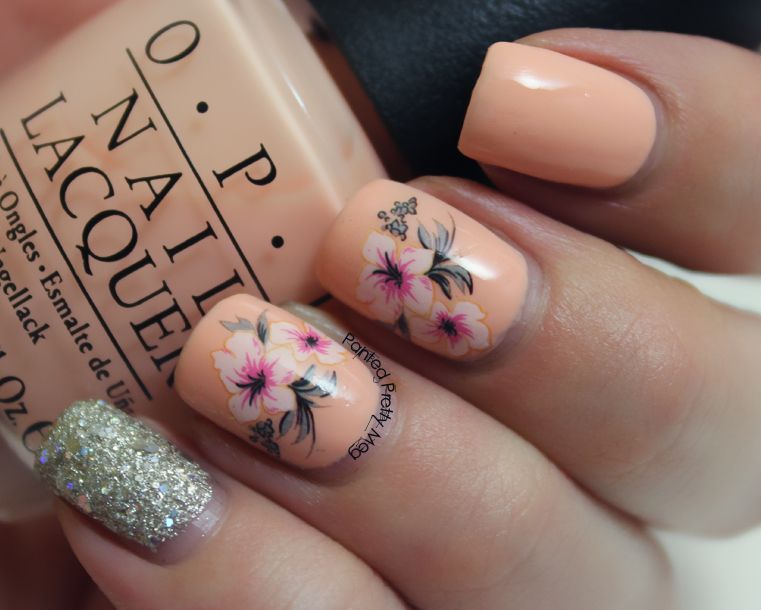
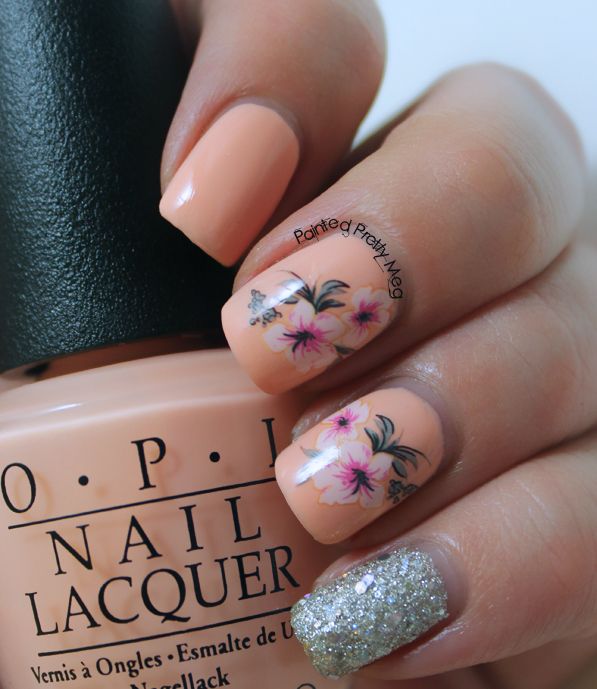
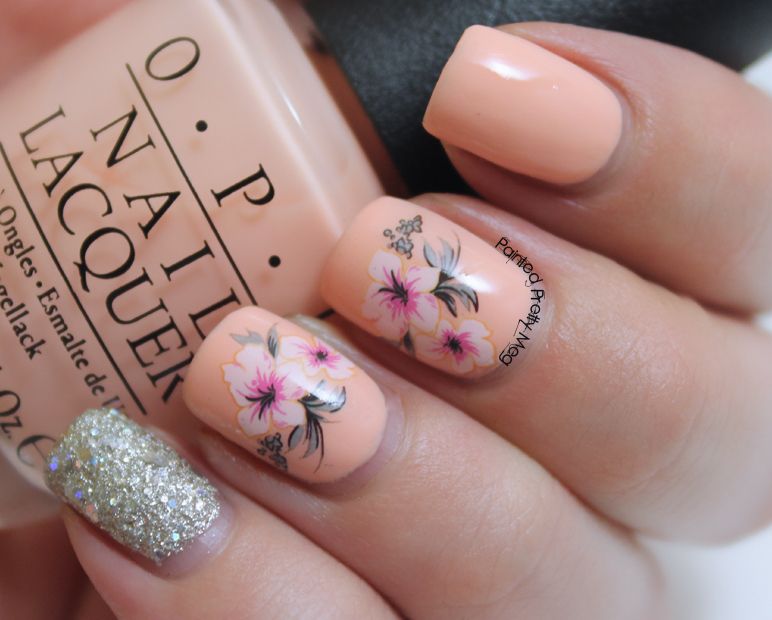
Even though, I have been busy, to the point of insanity :( I did manage to get a little nail art done! I somewhat, cheated though, and used water decals, from Born Pretty Store . I have to say, this was my first time using these, and I loved them. They are super easy to use, and they are incredibly cute on! Between that, and their incredibly affordable price point, I can say with certainty, that I will be using these again.


OPI-Chillin-Like-A-Villain-Water-Decal-Nail-Art-1


OPI-Chillin-Like-A-Villain-Water-Decal-Nail-Art-2

OPI-Chillin-Like-A-Villain-Water-Decal-Nail-Art-3


OPI-Chillin-Like-A-Villain-Water-Decal-Nail-Art-4


I really love how theses came out, especially since, it was so easy, and fast to achieve. The base on my pointer, middle, and ring finger is OPI Chillin' Like A Villain, from the new soft shades collection this year. A note about this polish,  I do love it, and I think that this shade is gorgeous, especially on my skin tone, but I was not super happy that it took 4 coats to reach opacity. It isn't a deal breaker for me, but I know it would be for some people, so I thought I would note that here. My pinky  is Zoya Cosmo, and seriously, be still my heart! I am in love! I only got  this one,  from this trio, cause I wasn't sure I would love the finish, after hearing mixed reviews, but I am in love, deeply, madly, truly! :P and I know I need the other two in my life now!


Alright, guys and gals! I think that covers it all for today, I hope everyone has a good weekend, mine is going to be busy, but, it will mostly be working on my nail room, and hopefully finishing it up, so I can't really complain to much. I can't wait to show you all, the finished product, which will hopefully, fingers crossed, be by the end of next week! Alright, till next time Kittens! < 3


Monday, March 31, 2014

piCture pOlish Festival Swatch and Review.


Hey Guys!


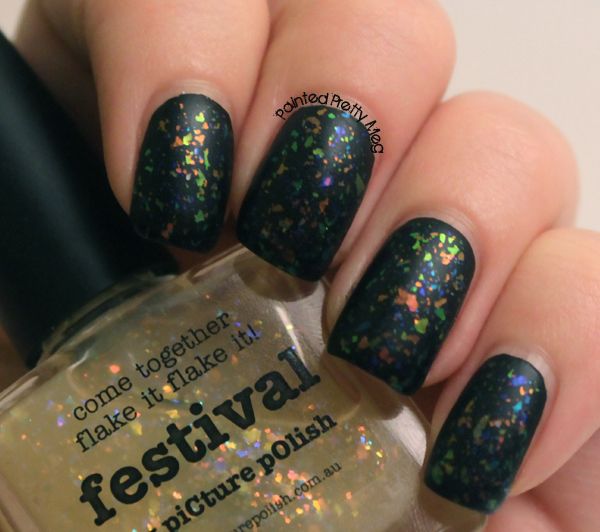
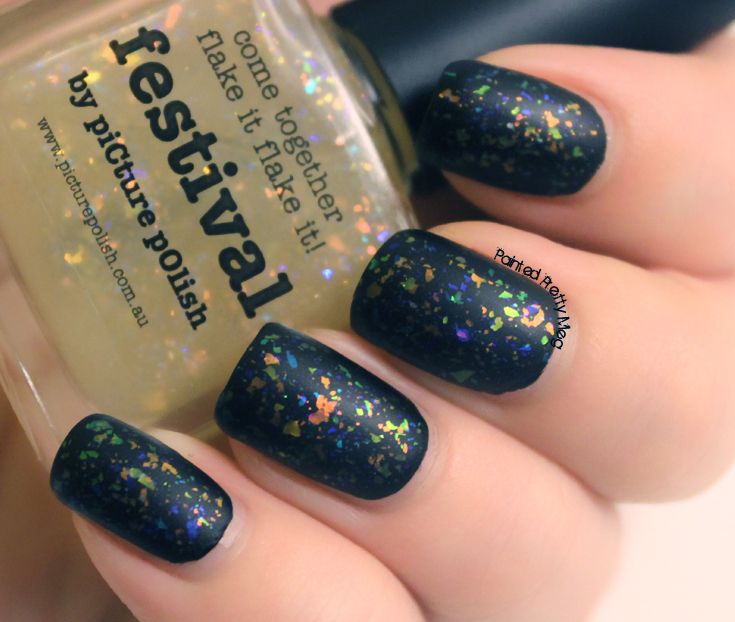
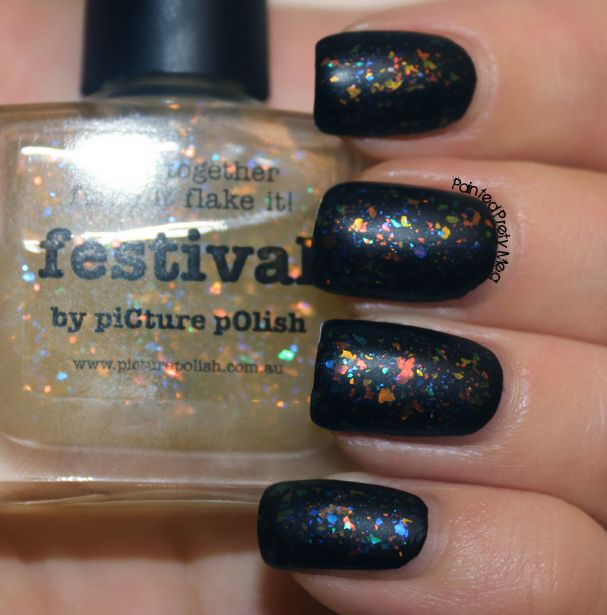
I hope everyone had a great weekend, mine was a bit low key. I am still somewhat sick with the flu, so I mostly took it easy,  Today I have for you, a really simple, yet really mouth dropping, stunning look. It is amazing how a bit of flakie polish awesome, can take a simple black creme polish, and make it amazing! The flakie polish I used was piCture pOlish Festival, and although it isn't overloaded with flakies, it is still amazing.


Picture-Polish-Festival-Swatch-1


Picture-Polish-Festival-Swatch-2


Picture-Polish-Festival-Swatch-3


Picture-Polish-Festival-Swatch-4


Picture-Polish-Festival-Swatch-5


First, let me start off by saying, I am not 100% pleased with my photos, but I am still  a bit sick, and I think that is influencing my ability to not suck at all things...lol! I really love how this looks, and I love even more that it was beyond simple to do. I simply painted one coat of Cult Nails Nevermore, then waited about 5 minutes for it to sry a bit, then put on 2 coats of piCture pOlish Festival. Then a top coat,  which in this case was  OPI Matte Top Coat. I was inspired by all the awesome, amazing matte flakie polish posts that have been floating around instagram.   I used two coats here, cause like I mentioned at the beginning of this post, the flakies in this aren't heavy. I liked the look with 1 coat, it was nice, and sutble, but still amazing, but I wanted a bit more "wow" in my mani.  I almost like that this polish isn't super dense in the flakie department. It gives you the option to wear it, in a more subtle look, or put on 2-3 coats on, and really have that intense look. I won't lie, I have spent a fair amount of time staring at my nails the past day or so. I keep trying to catch all the amazing colours dancing across my nails!  It has been the best kind of distracting!


Alright guys and gals, I really should get going, I have some painting to do today still, but a big yay! for the nail room for being back on track again! I was supposed to be done the room, this past weekend, but the flu had other plans for me :l  I hope everyone is having an awesome-sauce Monday! Till next time Kiitens! < 3

Thursday, March 27, 2014

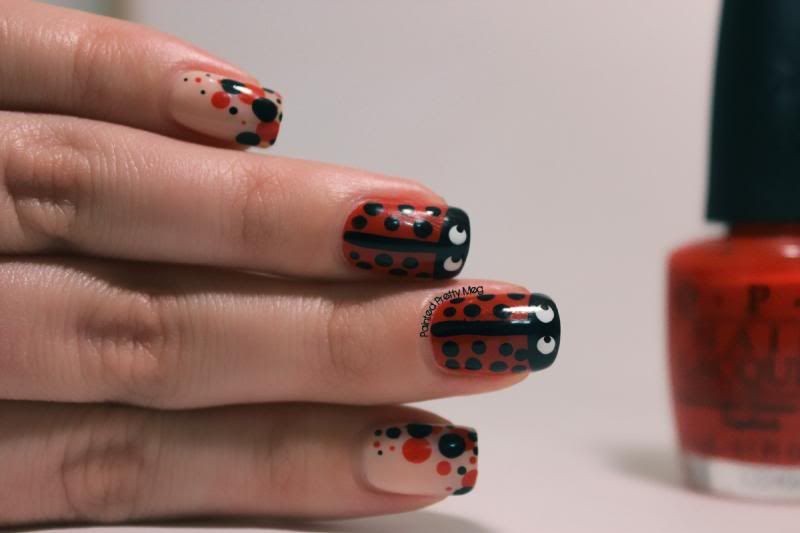
OPI Lady Bug Nail Art!


Heya Guys!

It is so good to be back! I had some technical computer issues, last week, which, to say the least was NOT fun! :P That, with the nail room project, was keeping me pretty busy, and more importantly, away from the computer, since I didn't have one for a bit,  but  then, if that wasn't enough on my plate, I came down with the flu this week, so I have been holed up in my bedroom, with Kleenex and Netflix! I hope everyone has been having a better time of it these past couple weeks then me! Now, enough rambling, let's talk nails!

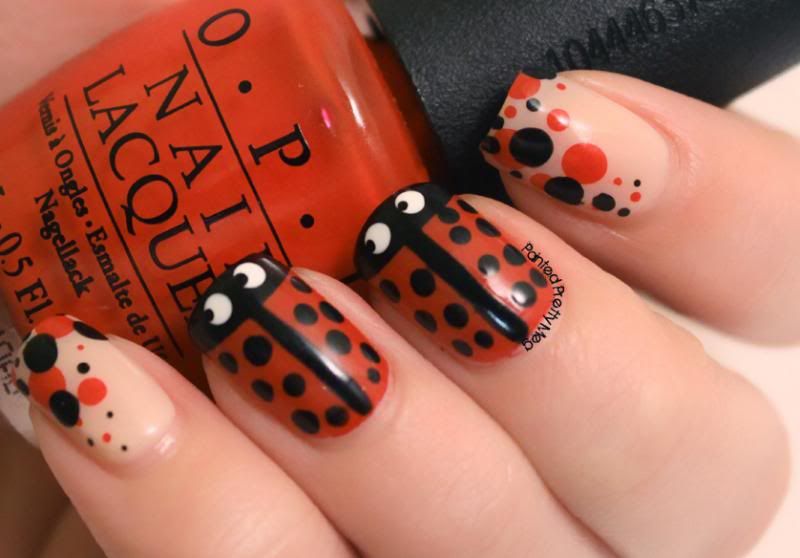
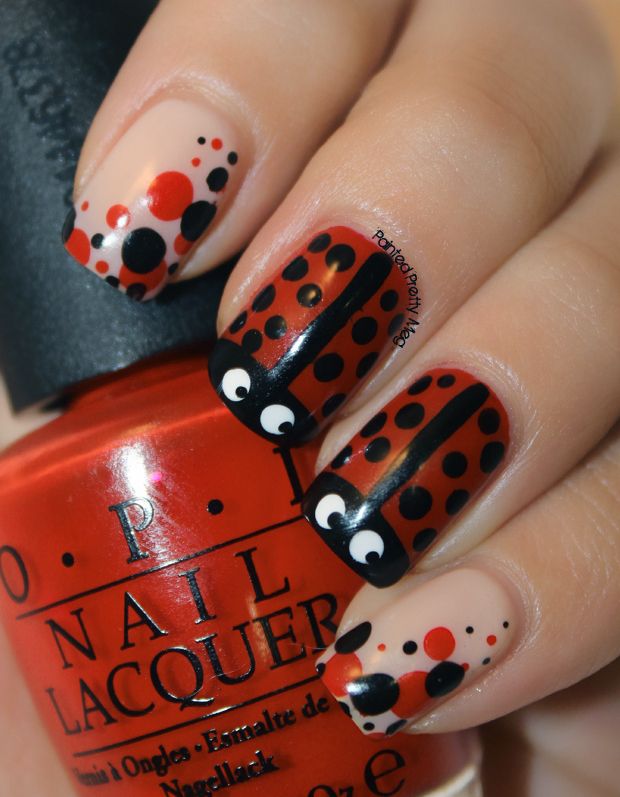
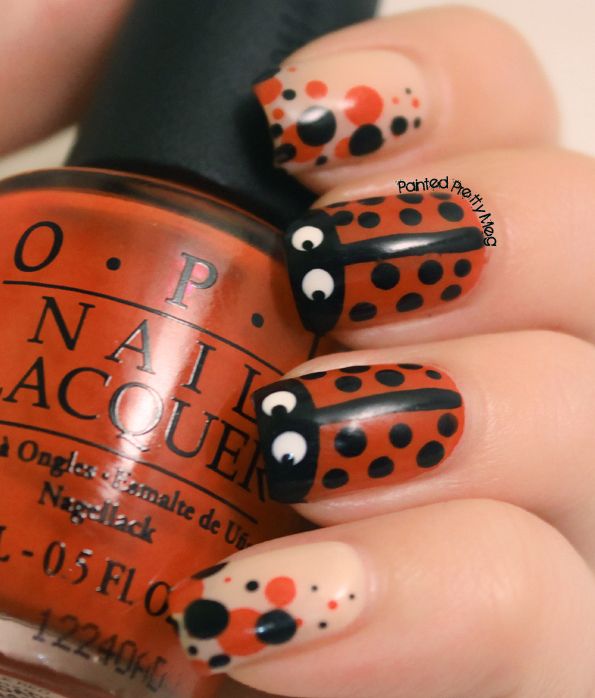
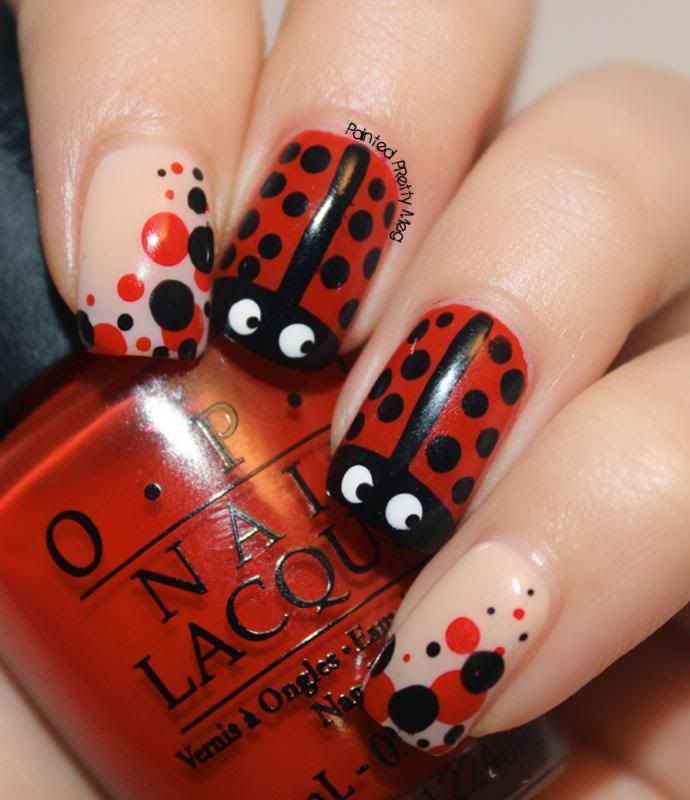
Spring is still being  incredibly shy, but that didn't stop me from putting some lovely lady bugs on my nails, last week. I used all OPI polishes for this look, and I love the way this mani came out.  It really made it feel spring for me, even if the weather refuses to admit, that it is, in fact spring!


OPI-Red-Lady-Bug-Nail-Art-1


OPI-Red-Lady-Bug-Nail-Art-3


OPI-Red-Lady-Bug-Nail-Art-4


OPI-Red-Lady-Bug-Nail-Art-5


OPI-Red-Lady-Bug-Nail-Art-6


OPI-Red-Lady-Bug-Nail-Art-7


I had a bit of trouble, getting this to be colour accurate in my photo's, as I am sure you can see. I am really sorry about that, I spent a long time, and took about a 100 photo's, and the red just didn't want to show up properly in most photo's, I figured it was alright though, since this is mostly about the art, and not a review of the polishes! :P

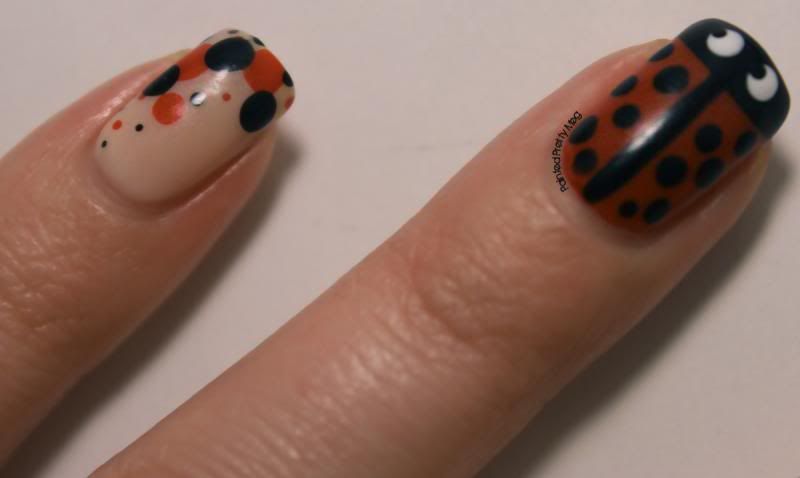
This look, was pretty simple, and I free handed the lady bugs with a black striper polish. It was the only non OPI polish, in the whole look. Speaking of other polishes The red is OPI Red, the white was Alpine Snow, The nude shade on my pointer and pinky, is Bubble Bath, and the black dots are Black Onyx. 


Alright guys and gals, I apologize if this post is a bit random, and doesn't make entire sense, having the flu, and being a bit foggy from cold medicine will do that! I really hope everyone loves the lady bugs as much as I do. Did any of you do any spring nails yet!? Are you looking forward to spring as much as I am!? Till Next time Kittens! < 3


Friday, March 14, 2014

Colors By Llarowe: Days of Our Polish Swatches with a Chevron Accent.


Hey Guys!


It's Friday! Got to love that the weekend is finally here!  You may have noticed that I did a major overhaul on the blog. I had been wanting to get a cleaner, more simple look on the blog for a while now, and I am so glad I finally put myself to work and did it! I hope you all love it as much as I do.

Today I have a mani, that  has previously shown up on my instagram, but I loved it enough, I thought that it deserved it's own post here as well. I have recently become a huge fan of Colors By Llarowe, that woman makes seriously amazing, in your face, easy application holographic polishes. If you haven't tried any of them yet, I seriously urge you to consider it, you won't be sorry!


Click to read more!

Tuesday, March 11, 2014

Glam Polish Margaritaville: Water Marbling Take Two!


Heya Guys!


It has been really sunny and almost warm outside the past few day, and it has sent me flying into full spring fever mode! I have been going outside in nothing but a light jacket, even if it isn't quite warm enough yet, wearing shoes, despite the melting snow everywhere, and of course, putting fun bright eye popping colours on my nails! Today's mani I want to share with you, is no exception.


Glam-Polish-Margaritaville-Swatch-with-Water-Marble-Accent-1


Glam-Polish-Margaritaville-Swatch-with-Water-Marble-Accent-2


Glam-Polish-Margaritaville-Swatch-with-Water-Marble-Accent-3


Glam-Polish-Margaritaville-Swatch-with-Water-Marble-Accent-4


Glam-Polish-Margaritaville-Swatch-with-Water-Marble-Accent-5


Glam-Polish-Margaritaville-Swatch-with-Water-Marble-Accent-6


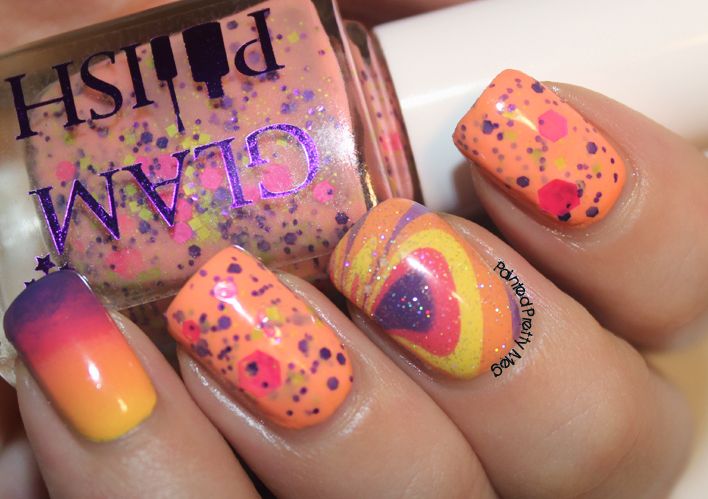
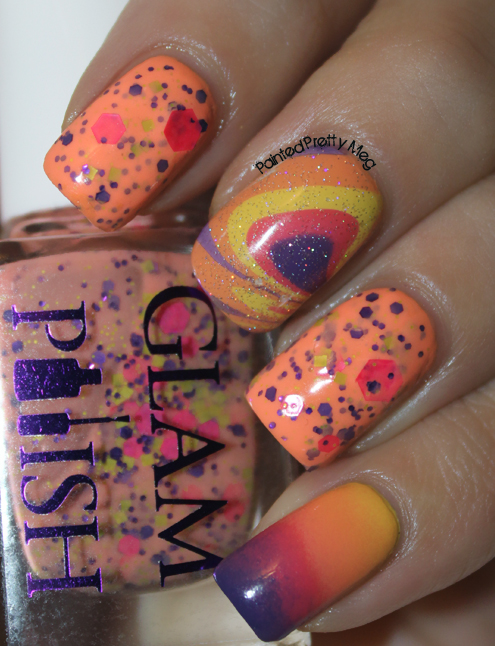
Let me just start by saying, I love everything about this mani, from the bright eye popping colours, to the fun glitters,  even the far from perfect water marble I did! Although, as this is my second attempt, I can already see a major improvement from the last one

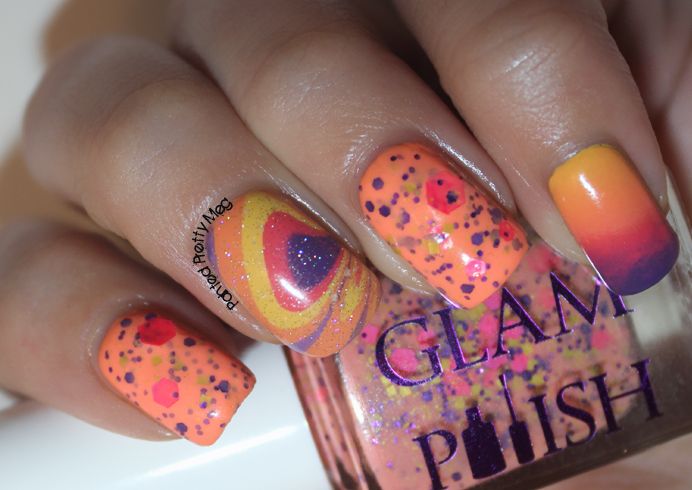
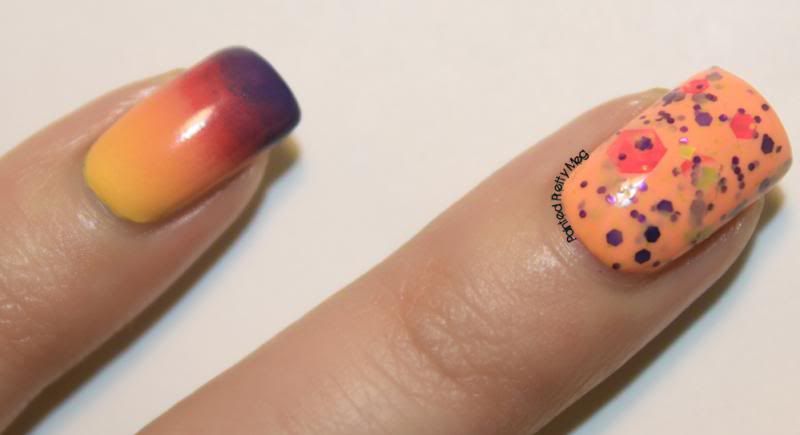
 I used Glam Polish Margaritaville for my pointer, ring and thumb (not shown). As you can see, it is almost  a neon, coral like orange shade, with gorgeous purple, pink and yellow matte glitters in it. It applies amazing, and barely needs any manipulation to get onto the nail. I do recommend turning the bottle upside down before application however, since the large pink hex glitters do settle to the bottom.  I applied two coats of this wonderfully gorgeous polish, (which is sadly a newly discontinued shade, so if you see it, make sure to grab it up!) over Where Did Suzi's Mango? by OPI. Which is a similar orange/coral creme from their new OPI Brazil collection.

To make the colours really pop on the gradient and water marble, I used a white base of My Boyfriend Scales Walls by OPI. Then, using the same 4 colours for both accent nails, I applied a gradient to my pinky, and a water marble to my middle finger. The polishes used for the accent nails were I Just Can't Copa-Cabana by OPI (yellow) Where Did Suzi's Mango? by OPI (orange) Micky by Zoya (pink) and Grape Pop by China Glaze (purple) I then added a bit of Fairy Dust by China Glaze to make it sparkle. It is all topped off with my trusty HK Girl top coat.

I really think that this entire look just screams sunshine, and warmer weather. With my spring frenzy currently in full swing, I feel like I could wear this forever! Are any of you craving the warmer weather too? Have you done any spring/summer nails to reflect your need for spring to hurry up and get here? Let me know in the comments! Till next time Kittens! <3